Last weekend saw me travelling across the country to Grimsby for a game of Cold War Commander. Our hosts, Grimsby Wargames Society were excellent, so a big thank you to Steve Graham, Andy Hamilton, Andy Bruce and Danny Malone. The game, Arctic Stike, was organised by Richard Phillips, supported by umpires Richard Crawley and Steve Graham, so a big thank you to them, especially Richard P for his organizational genius.
The game was a continuation of a game played in 2013 at Dungworth near Sheffield, taking up a day or so in game time after the previous game. Soviet motor rifle troops were advancing south from northern Norway, as well as making landings around Bodo and advancing east in an attempt to link up with the main thrust along the north-south axis.
This is the table for the thrust from Bodo, looking west, so Bodo itself is off the end of the table and the Soviets were to advance towards the camera. There were a variety of beaches along the southern edge of this table (to left in photo below) along which amphibious troops could attempt landings.
A vital NATO resupply base/harbour on the southern table edge, with a freighter/transport loaded with Canadian reinforcements. Richard Phillips (Fieldsway Scenics) did most of the terrain for the tables - an immense effort and really well done).
Slightly further west, showing potential landing beaches. The river mouth shown would turn out to be a vital NATO stop line. One of my terrain items is the lighthouse.
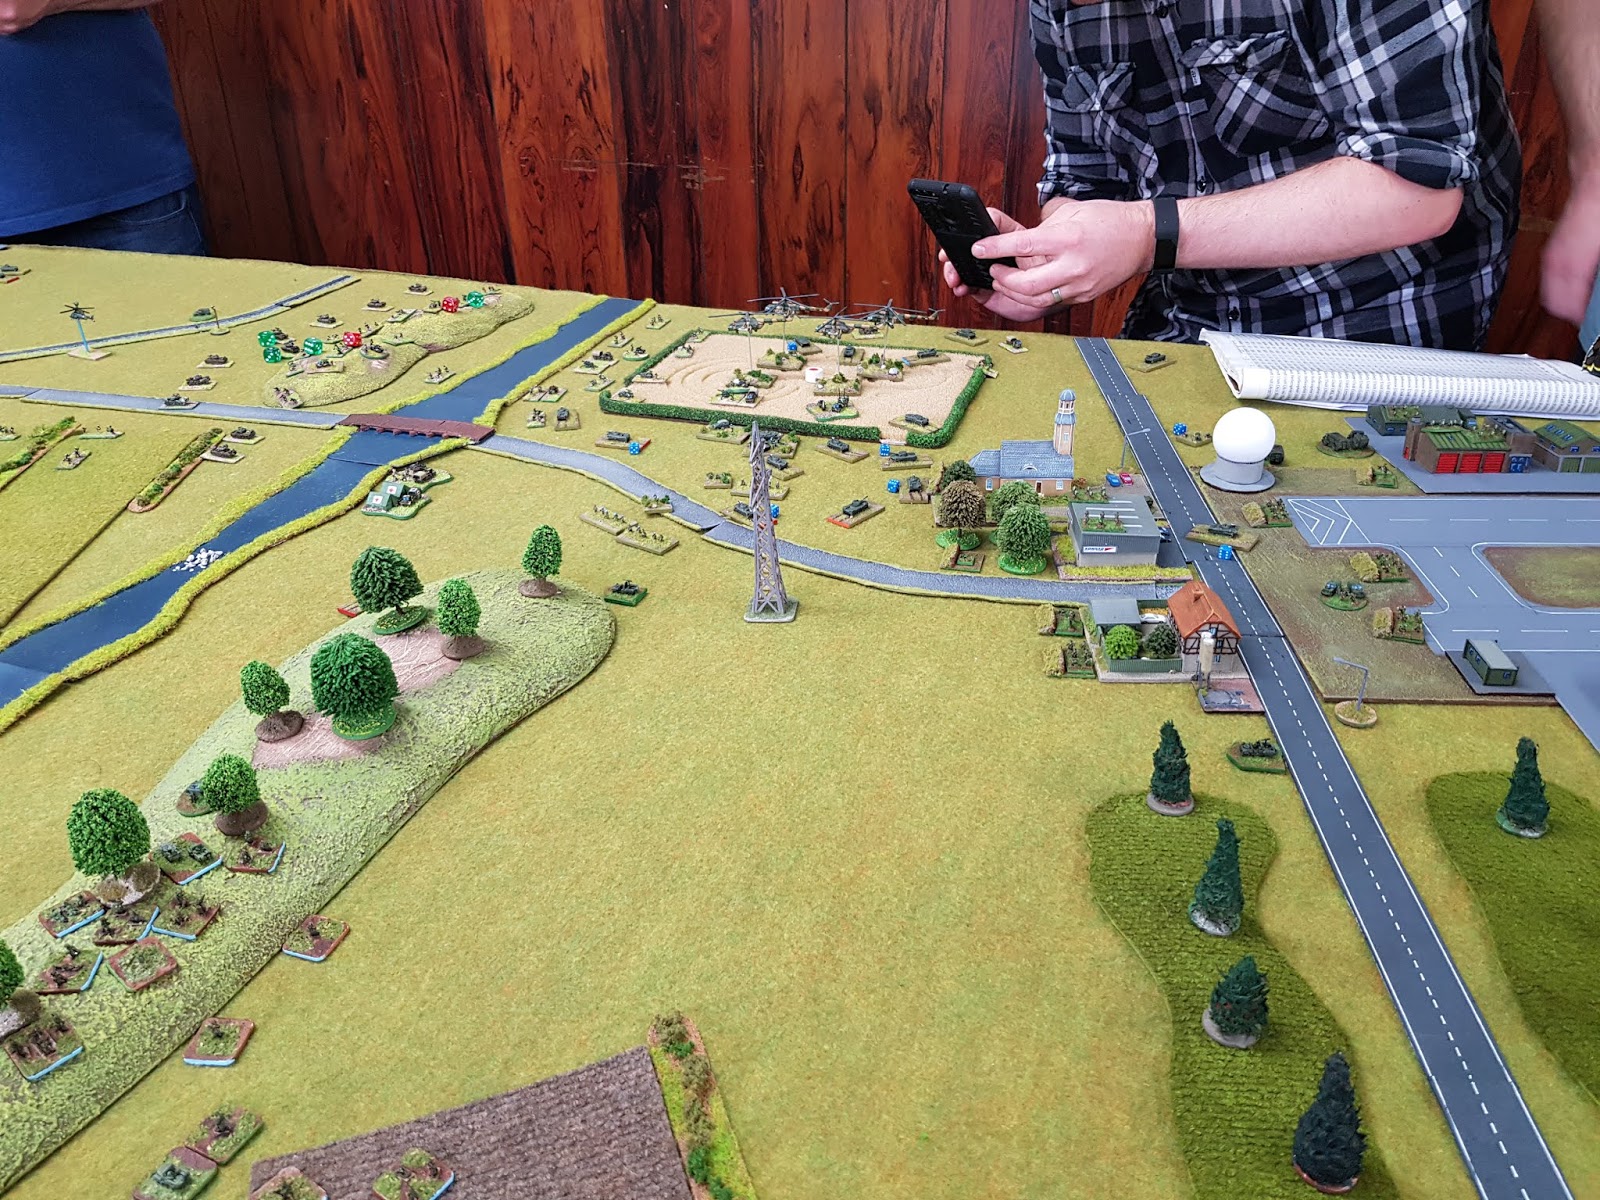
The main west-east highway with one of the NATO airfields in the far left. This airfield was too close to the Soviet deployment zone and abandoned by NATO at an early stage.
The abandoned airfield. Most of the airfield terrain was the work of Andy Miles.
The other airfield on this table was hotly contested in the end, but this was more in the NATO rear area.
Looking south from the second airfield towards the docks.
The main west-east highway at the NATO end of the table. The small BUA and road bridge in the middle distance would be hotly contested.
The NATO forward deployment area.
Then on the north-south table, this view looks north towards the Soviet table edge. Again, amphibious capable beaches line the western (left hand) table edge.
Airfield in the NATO rear area, with runway by Richard P projecting out into the sea, based on a real world example in the area.
The NATO forward deployment area looking east towards Sweden and Finland.
View from the Soviet table edge looking south.
Pete Spencer's excellent helicopter armada, now part of Rodger's VDV forces.
Soviet air assets.
More Soviet air assets.
NATO air assets.
More NATO air assets.
Richard P's most excellent Aist LCACs.
I was NATO commander, which essentially involved me in allocating sectors to the mixed force pool available. On the north-south table, I asked Rodger to hold the front line with his mottly collection of Norwegian regulars and home guard, while Mark's US high-tec infantry in dune buggies was tasked with holding the rear area, offering long range support to Rodger, but also securing the airfield and coastlines. The big surprise on that table was to be a flank march by Simon's Finns, launching a spoiler attack into the Soviet eastern flank at an opportune moment.
On the west-east table, I asked Mark Julien, with his CAST battlegroup and Luxembourg contingent ("Luxy Boys" throughout the weekend) and Neil's 82nd Airborne to hold the front line. I tasked Andy T's Royal Marine Commando Arctic Warfare contingent to provide rear area security for the airfield and to support Neil's 82nd if needed. My USMC provided two marine infantry battalions to hold the dock area and secure the beaches, with a company of engineers at the rear river crossing and some TOWs to support Andy's RMCs at the airfield.
The plan seemed to work well on the north-south table, with Rodger's Norwegians putting up a stubborn resistance and Simon's Finns causing real trouble. A landing by VDV in the NATO rear was badly scattered and finished off piecemeal by NATO. On the second day, another VDV brigade group landing was more concentrated and made better progress against the powerful but brittle US High-tec infantry. Sorry, but I don't have pictures for this table.
On the west-east table, the Soviet ground forces were slow to progress, due to poor command rolls and less than favourable terrain. Two VDV brigade groups landed, one (Alan's) entirely by parachute, attempting to secure the bridge in the NATO rear area. The other (Andy H's) landed partly by parachute to secure the airfield abandoned by NATO and the other to secure the airfield held by Andy.
Alan's VDV landing by the bridge were badly scattered and suppressed. Andy's RMC battalion rear left by the hills were taken out by preplanned artillery strikes. USMC infantry in the left foreground are largely facing the wrong way - towards the lower left beaches. Thank goodness for the US engineers in the town, supported by an M728 combat engineering vehicle, and the TOW jeeps deployed in support of the RMC by the airfield.
At the same time, two brigades of naval infantry began landing troops. Below, Andy B's vanguard launch into the Canadian flank, although terrain slows them down nicely.
Neil and Andy's troops take on Andy H's heliborne assault.
Oooh look, helicopters.
Andy H's VDV drop on the largely abandoned airfield.
Alan's VDV attempting to reorganize. The VDV were so scattered they suffered either distance command penalties or command penalties for trying to command troops from other commands, which meant response times were poor.
Alan also took on a naval infantry brigade, which attempted to land near the docks. Again, a thin strip of trees, but a real obstacle to the attacker. USMC in the power station were locked and loaded, as were another battalion dub-in on a wooded ridge just out of shot to the right.
Alan's VDV still strung out and being thinned out, especially effective were Andy T's Lynx attack helicopters.
Soviet Naval Infantry and T-55s line the edge of the wooded beach top, waiting for the order to advance.
Around the docks, the Canadian Leo 1 company, held in reserve for the front line, does a great job of threatening the seaborne beachhead flank.
Andy B's Naval Infantry are still struggling to get off the beaches.
Alan's VDV around the town, still dispersed. The USMC field hospital (lower right) was kept busy all day treating VDV paratroopers, initially lots of breaks and spinal injuries from the drop and later GSW and flash burns from exploding BMDs, together with a handful of USMC engineers. Both sides seemed to respect the field hospital and it survived unscathed.
Alan's beach assault. Infantry and APCs broke through the woods near the docks and attempted to get to grips with the troops in the power station, but USMC firepower is awesome, with a Dragon ATGW team, an HMG and at least a company of infantry with SMAWs stopping them in their tracks. On the right flank, Dragon teams and SMAWs effectively dealt with a company strength group of T-55s that advanced into the fields on the right.
An artillery strike on the power station destroyed a lot of parked Bv206s and a TOW stationed in one of the buildings behind, but the bulk of the troops survived, albeit with lots of suppressions.
The situation at the end of day 1. The Alan's VDV had eventually broken and he decided his Naval Infantry weren't going to break through so he reembarked them.
Day 2 saw a continuation of the struggle between Neil's 82nd and Andy H's VDV, augmented by some MRR troops that had caught up. Andy B and Andy M continued their struggle with Mark's CAST battlegroup, although the Canadians and Luxy Boys suffered at the hands of a massive timed artillery concentration. Meanwhile, the USMC launched an amphibious assault with armour and an infantry battalion on the beaches just vacated by Andy B. This took some pressure off the CAST battlegroup as Andy B had to turn his forces around and Andy M had to divert forces as well, otherwise their flanks were too exposed. Sadly, this kept me busy and I didn't get chance to take more photographs.
A great weekends gaming and a big thank you to all involved. Looking forward to next time. Oh, and the fish and chips were excellent!