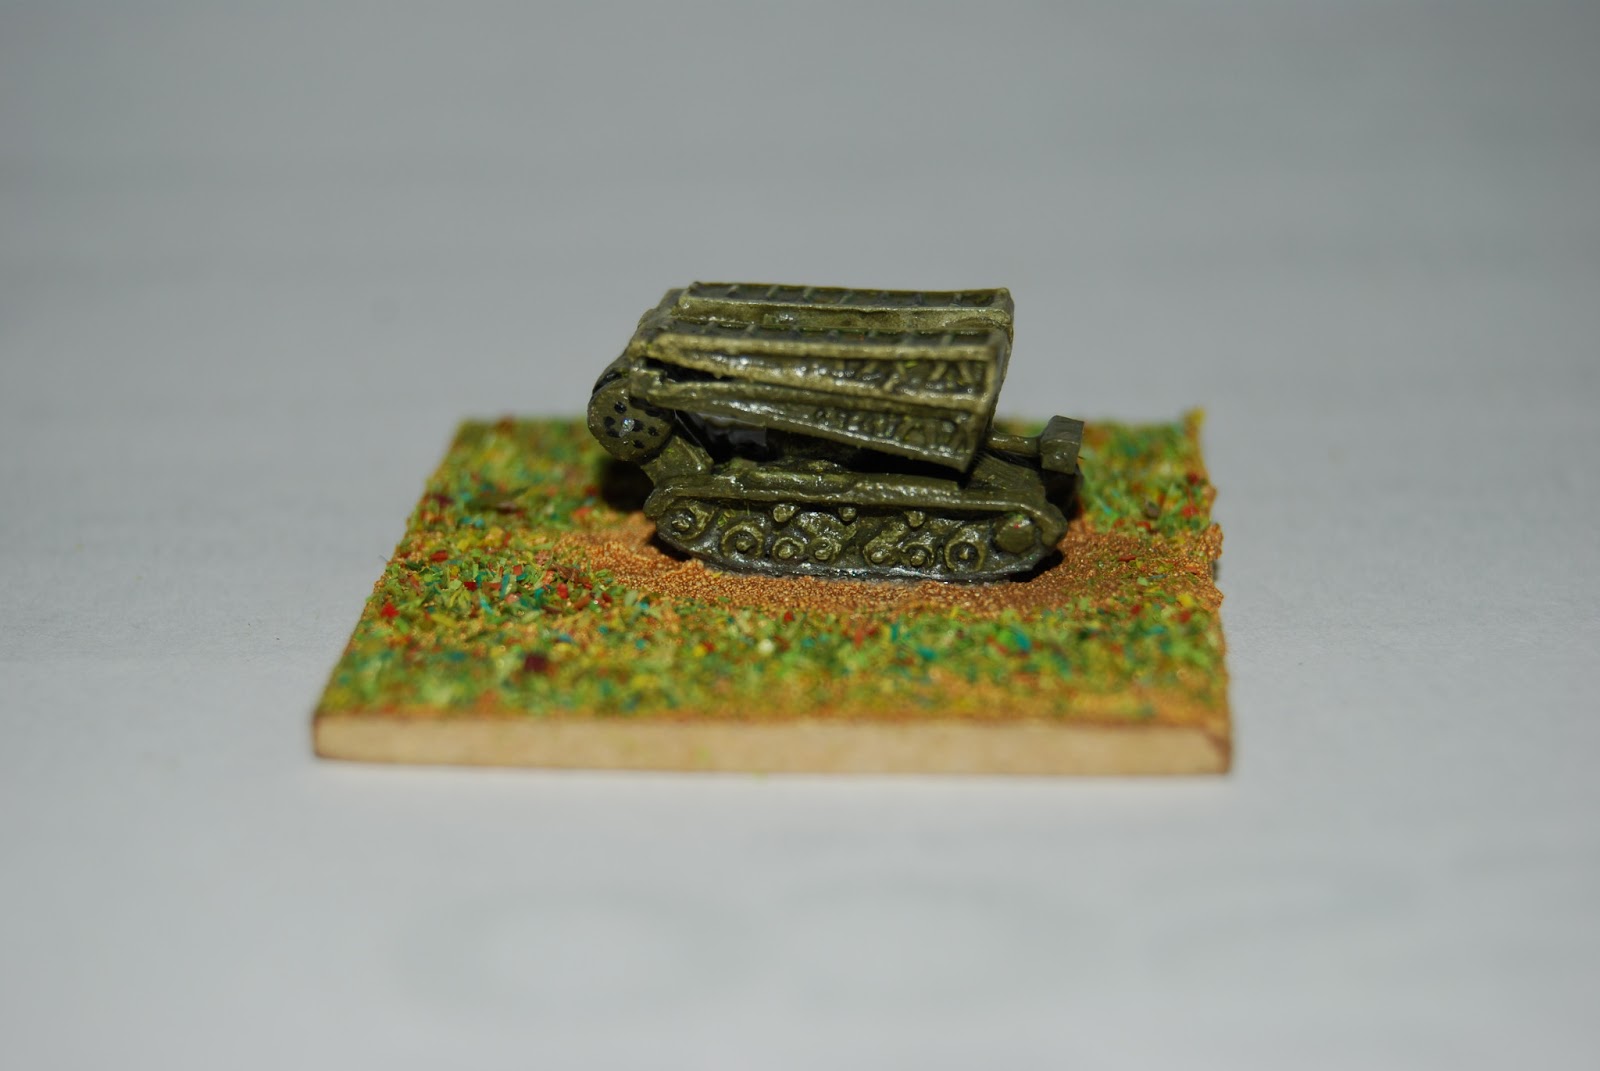
After some sidetracking with USMC forces for 1985, I finally got around to starting work on the Valentine Scissors Bridge. I ordered the models from Heroics and Ros, four Valentine IX tanks (B011) and four Churchill AVsRE with SBG (B054).
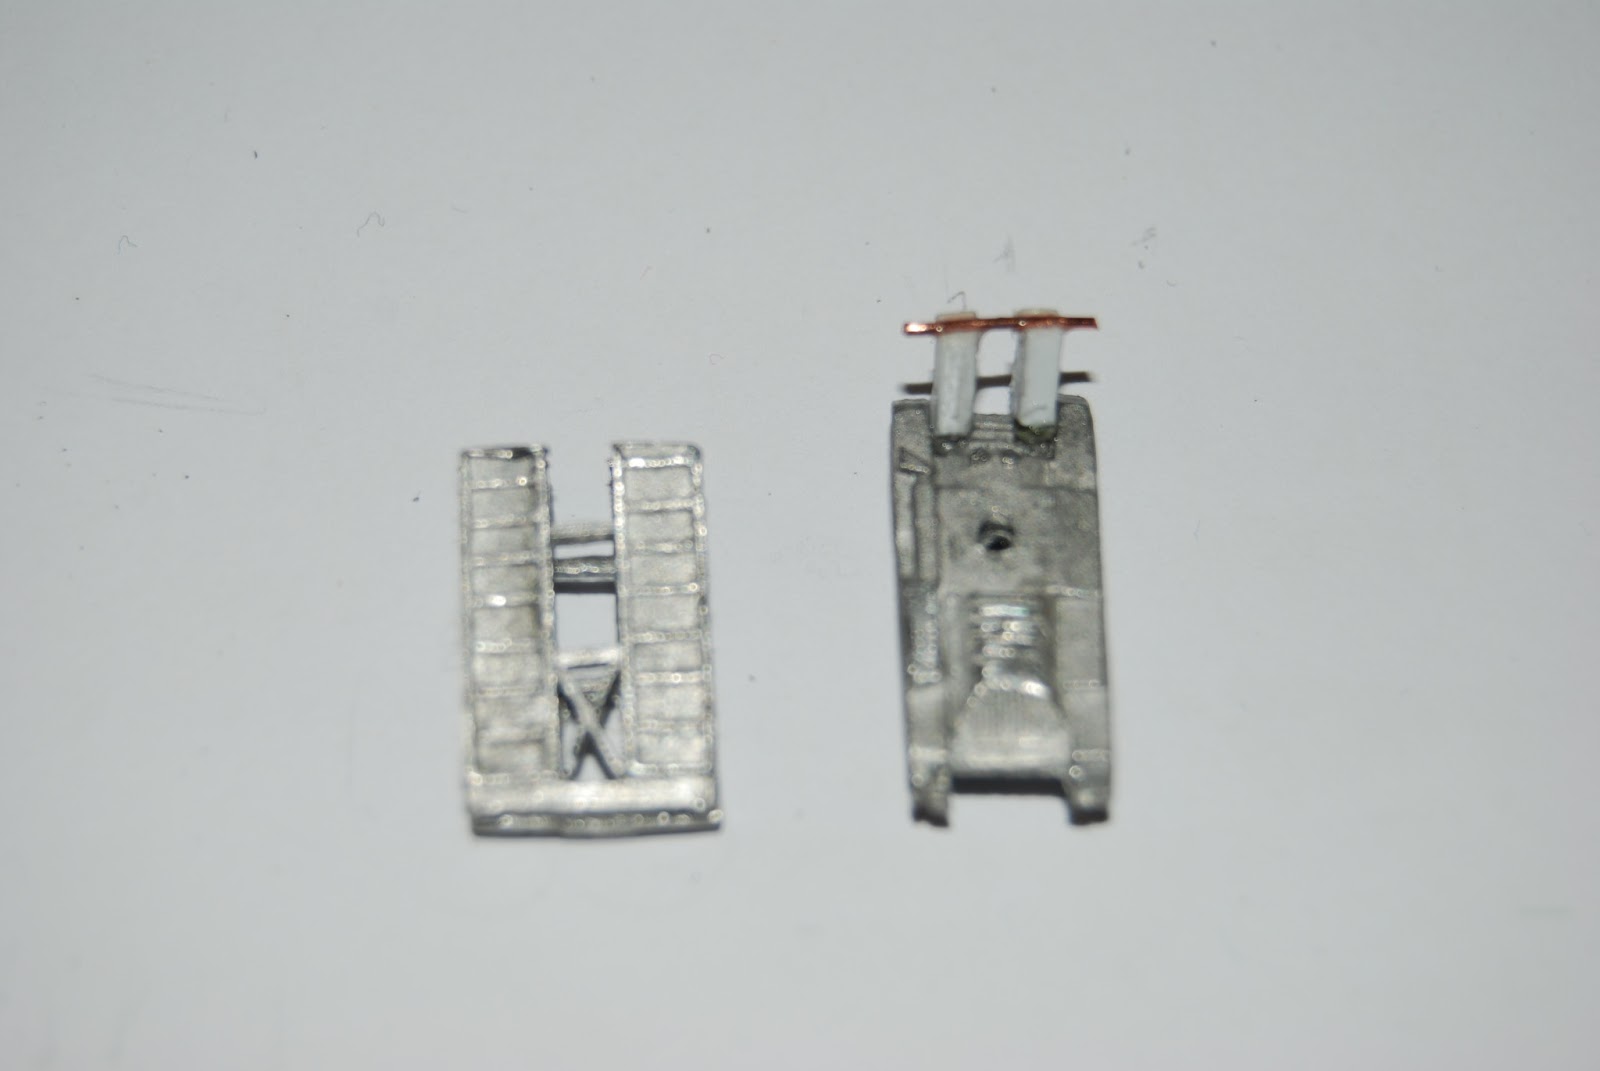
First off, I filed off the exturnal fuel tank on the left hand side of the aft superstructure of the tank. Then I filed the locating tab on the end of the SBG. Then I cut the bridge in two across the middle - this is tricky as it is the thickest part of the model. I didn't want to use a saw as I wanted to lose the thickness of the saw blade, so I cut it with a craft knife, remembering my Grandpop's (an old sailor) saying;
"Never cut towards your thumb,
Always cut towards your chum".
Anyway, it worked as I managed to cut it and didn't lose an appendage doing it. I then stuck the two bridge halves together with cyanoacrylate so that the ramp surfaces were showing. I then cut two short sections of styrene strip (.060x.156") and filed notches in the ends - at one end to fit the countours of the front of the tank model and at the other to act as a recess for some wire. The wire is to act as an armature for the rollers which form part of the launch gear.


I used a small copper wire armature through the turret socket in the tank hull, glued in place with cyanoacrylate, to build up a small turret (a simple blob-shape) with air-drying clay. A longer piece of copper wire was used to represent part of the launching apparatus. Small rounded discs of air-drying clay were used to represent the rollers. I also had to build up some clay in the gap between the bridge ramps to represent part of the hinge structure. Once the clay had dried, I smoothed out any irregularities, fingerprints, etc, with fine sand paper and a needle file.
This is where I've got to so far. The folded bridge is probably a mm or so short, but other than that I think it does the job. I'll reserve judgement until I've painted it up, when I'll post more pictures.
Thanks for looking.