Will and I headed out for Manchester extra early in the morning, expecting a clear run, only to find the motorway blocked with quite a bad RTC. Added 20 minutes to our journey, so not too bad for us, but a bit of a disaster for those caught up in it. We transferred to Steve motor and, along with Dave, headed off to the show in York.
Dave, Steve and Will, along with Dave of Dave Lanchester books, make up the acceptable faces of the Lance & Longbow Society. In no time, we had set up the L&L stand, selling an assortment of books and pamphlets concentrating on the medieval period, chiefly the Wars of the Roses, and a participation game "The Battle of Stamford Bridge?", a fictional engagement between Neville and Percy during the Wars of the Roses (pictured below). Steve and Dave ran this game at least three times during the show, which was great to see as there were quite a few eager participants, including some youngsters. Will was kept busy running the stall with my willing, but largely ineffective assistance.
We did manage to do some shopping, which for me included picking up a pre-order from Peter Pig and another from Early War Miniatures. I also managed to get in to the Rapid-Fire stall early on and snaffled some nice Ready-to-Roll vehicles and also visited Grubby for some Britannia vehicles and figures.
The 20mm haul includes 3 Pz IVF2s for Torch, a pair of CV-35s and a pair of Semovente-75s, plus 2 MkVIs for an Operation Hercules scenario. There are two Sherman dozers to provide some engineering support to a US boat team for a D-day game, plus assorted US and British recce, including 2 Daimler ACs, a Humber AC, 2 Staghound ACs, a Humber light recce car, an M20 and an M, a Dodge command car and a comms jeep. Then for late war, there are 2 Hetzers and an Sdkfz 140/1, plus some assorted guns including 2 MG tobruks and 2 tank turret tobruks, a redestal Pak 38, a 120mm mortar and a 37mm Flak, as well as a couple of crews for Airfix 75mm Pack Howitzers. There are also some repaired vehicles from the £1 miscast EWM stand, including 3 Fiat trucks and 2 Fiat Breda AA portees, 2 Humber SCs and 2 Kubelwagens, plus a Dingo SC. These weren't all from Vapa, but I've worked on them as a batch to get them ready for painting. In the bags are some assorted Britannia British paratroopers and EWM British drivers and their new and most excellent Germans in winter smocks. I only bought a couple of packs of the new Germans, but they are lovely and I can see me getting more as well as their new US infantry figures if they are anything like as good. Crews are all Hat plastics from the US and British tank riders sets that I bought in Sheffield back in October. Will very kindly gave me some US tank crewmen, and I need to find the last pair of these to crew the M20 and M8. The Semoventes will need some crew too as they are modelled open hatched.
All in all, a good haul. I'd missed getting to Warfare and Recon this year, so had saved up a bit of goodwill with the boss and so put that to good use by rounding out a few projects that I've had on the go for a while now.
Not sure when I'll get to paint these, as I've not picked up a brush since before Christmas. Hopefully soon. As ever, thanks for looking.
Translate
Showing posts with label Rapid-Fire. Show all posts
Monday, 11 February 2019
Friday, 26 May 2017
20mm Fallschirmjaeger heavy infantry weapons
With Battlegroup Tobruk including rules and organisations for the Fallschirmjaeger on Crete, it gave me the incentive I needed to get all the packs of infantry heavy weapons completed that I bought from SHQ a few years ago at the Derby show.
First up, three tripod mounted sustained fire MG32 teams.
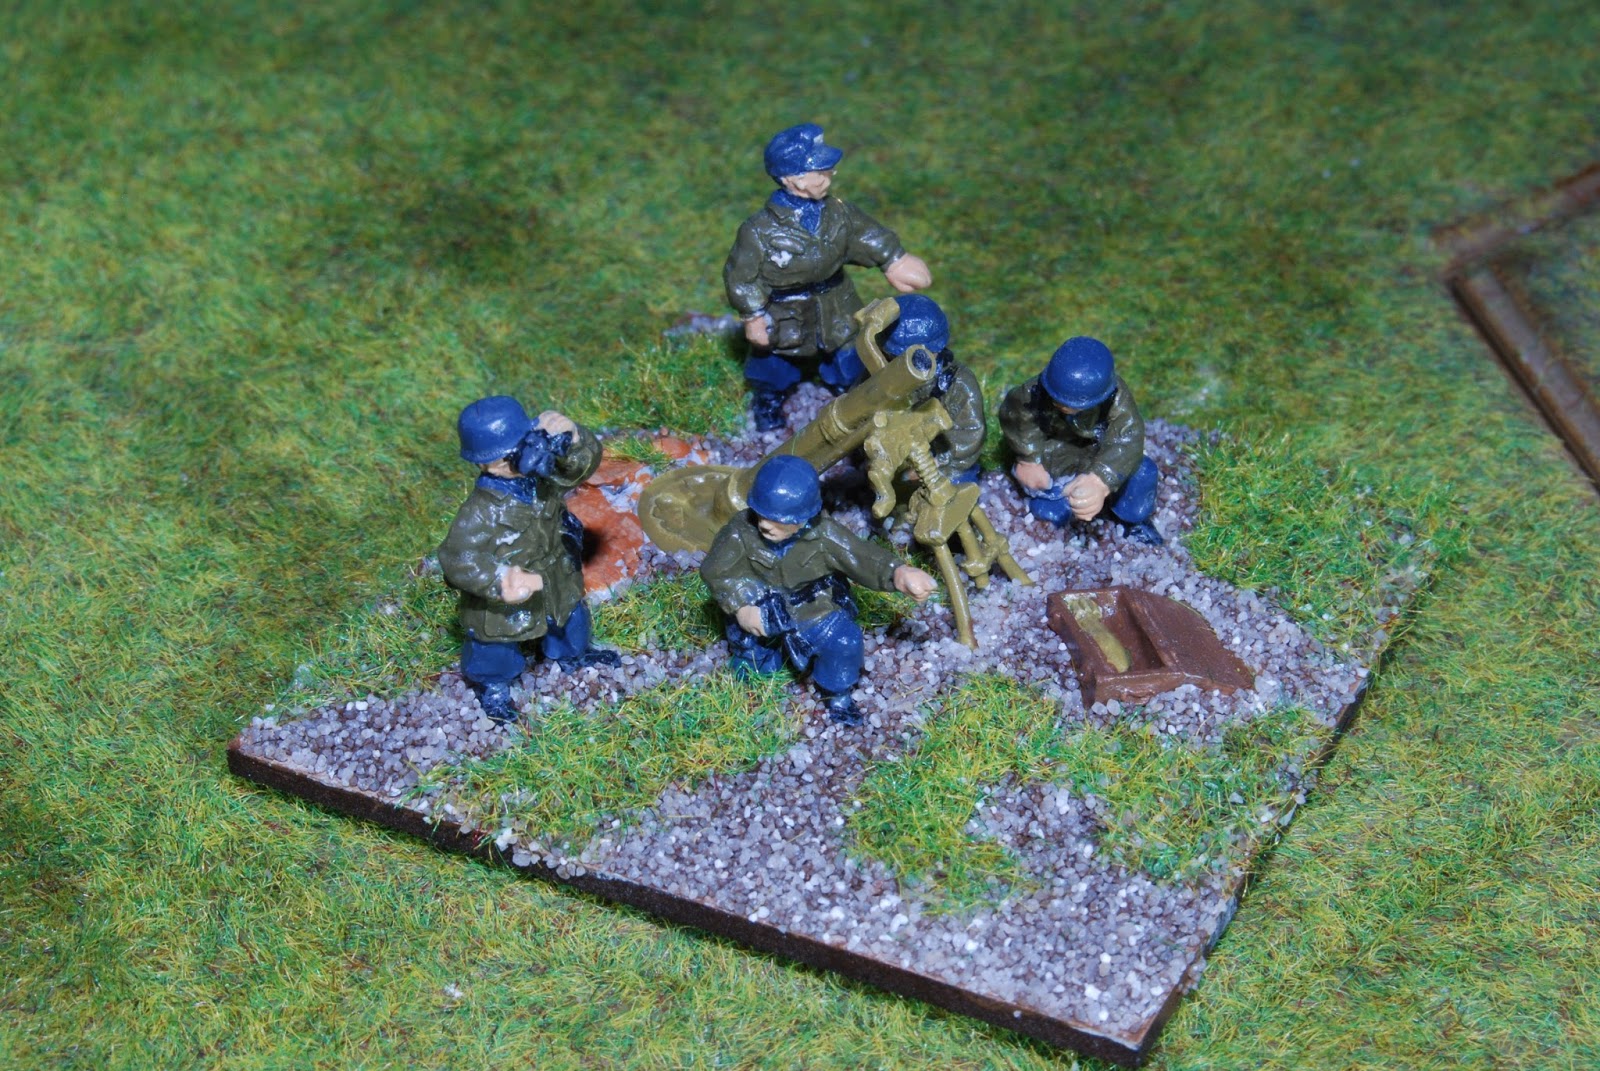
Three 81mm mortar teams.
Not sure of the manufacturer, I bought these from Paul at the Defenders club, but a 120mm mortar team - not developed until 1942, so too late for Crete.
A command team pack, again bought from Paul. Front right is a mortar/artillery spotter team, front left and wire laying communications team and rear right another spotter team, possibly an air liaison team.
Two three-man packs of SHQ engineers carrying mines, demo charges and flamethrowers.
Another purchase from Paul, an MG32 team on the move.
This gives me enough figures to equip a Rapid-Fire regiment or a Battlegroup company. I need to add a couple of 75mm recoilless rifles to round out the unit and maybe a pair of PAK 36s.
Thanks for looking.
First up, three tripod mounted sustained fire MG32 teams.
Three 81mm mortar teams.
Not sure of the manufacturer, I bought these from Paul at the Defenders club, but a 120mm mortar team - not developed until 1942, so too late for Crete.
A command team pack, again bought from Paul. Front right is a mortar/artillery spotter team, front left and wire laying communications team and rear right another spotter team, possibly an air liaison team.
Two three-man packs of SHQ engineers carrying mines, demo charges and flamethrowers.
Another purchase from Paul, an MG32 team on the move.
This gives me enough figures to equip a Rapid-Fire regiment or a Battlegroup company. I need to add a couple of 75mm recoilless rifles to round out the unit and maybe a pair of PAK 36s.
Thanks for looking.
Saturday, 15 November 2014
20mm Fallschirmjäger command
As I've had a lot of "giants" (20mm +) on the painting table recently, I decided, while I'm on a roll, to try and complete the figures I have for my 20mm Fallschirmjäger brigade for Rapid-Fire. These are a mixture of mainly Airfix and S&S models (the rifle grenadiers and AT rifles), the latter purchased at the WWS show back in 2013, which have lain at the back of the cupboard with a Gesso undercoat since this time last year.
First up, all the command units, in front 3 6-figure battalion command units, rear left a 6-figure brigade command unit and rear right a 2-figure observer team (FAO or FAC).
The brigade command company - just noticed I still have to do some detailing on the brigade commanders hat.
A new photo of the CO with better detailing on the hat
One of the battalion command companies, with the observer team behind.
The command groups one more time.
That pretty much completes the basic infantry units for the brigade. I've still got to pick up some HMG and mortar teams for heavy weapons companies and I still have to decide how I'm going to crew my PAK 37s with Fallschirmjäger crews - I'll probably have to pick these up from S&S at the next show I get to.
Thanks for looking.
First up, all the command units, in front 3 6-figure battalion command units, rear left a 6-figure brigade command unit and rear right a 2-figure observer team (FAO or FAC).
The brigade command company - just noticed I still have to do some detailing on the brigade commanders hat.
A new photo of the CO with better detailing on the hat
One of the battalion command companies, with the observer team behind.
The command groups one more time.
That pretty much completes the basic infantry units for the brigade. I've still got to pick up some HMG and mortar teams for heavy weapons companies and I still have to decide how I'm going to crew my PAK 37s with Fallschirmjäger crews - I'll probably have to pick these up from S&S at the next show I get to.
Thanks for looking.
Wednesday, 21 May 2014
Yet more Cold War French
On the premise that you can never have enough French microarmour I figured to extend my French armoured division from the 80's into the 90's, so I can add VBLs and Leclercs. Most of my existing forces, with some additional armoured cars, can be stretched easily to 1991 and the Division Daguet - the French contribution to Operation Desert Storm.
I needed some Crotale AA stands - these are two firing vehicles (Scotia FM004) and the FCR radar vehicle (Scotia FM005) - for the Daguet Division.
These Crotale models are really nice.
A company of VBL Milan ATGM stands (Scotia FM035). These are painted in the tricolour NATO scheme used on French vehicles in the 90's.
As the Daguet Division was equipped with more VAB HOT Mephisto units than I had, here are six more stands using Scotia FM018.
Next up will be units of AMX-10RC and ERC 90 to complete the light armoured units available to the Daguet Division.
I needed some Crotale AA stands - these are two firing vehicles (Scotia FM004) and the FCR radar vehicle (Scotia FM005) - for the Daguet Division.
These Crotale models are really nice.
A company of VBL Milan ATGM stands (Scotia FM035). These are painted in the tricolour NATO scheme used on French vehicles in the 90's.
As the Daguet Division was equipped with more VAB HOT Mephisto units than I had, here are six more stands using Scotia FM018.
Next up will be units of AMX-10RC and ERC 90 to complete the light armoured units available to the Daguet Division.
Labels:
1/300,
6mm,
Cold War Commander,
French,
Rapid-Fire,
Scotia
Sunday, 10 November 2013
20mm Fallschirmjaeger update
I've not been up to much this week with family visiting at the start of the week and a trip to hospital to remove a foreign body from my eye mid-week - I have no idea how it got there! Since then my vision has been a bit blurry while I've been using antibiotic ointment, so not much point in trying to paint anything.
So, for want of anything more positive to share, here's a picture of the current status of my Fallschirmjaeger Brigade for Rapid-Fire. I've so far completed the jaegers for three companies for each of the three battalions. The back row are undercoated command figures, six for each of the battalion commands, plus 6 figures for the brigade command and a two man artillery observer team. The regular jaegers are Airfix, while the command figures are from SHQ with a few Airfix figures. I've still got SHQ MG and mortar teams, plus some engineer figures to complete, plus three Zvezda Pak 36 AT guns - I haven't decided whether to modify the regular infantry Zvezda crew or modify some Airfix infantry to act as crewmen.
I did manage a brief game of Flames of War on Thursday night. My US paratroopers were taken aback by a pair of SS flamethrower half tracks, cunningly disguised as regular half tracks, which allowed the SS to seize an objective and hold it. Still think it's a good game, but has very little to do with WW2 other than some really nice models.
Hope to be back to normal soon. Thanks for looking.
Cheers
Andy
Labels:
20mm,
Airfix,
fallschirmjaeger,
Rapid-Fire,
ww2,
Zvezda
Sunday, 6 October 2013
Rapid fire Corinth Canal AAR
I played Will at the Defenders club on Thursday, using Rapid-Fire rules. Will had played the Corinth Canal scenario some while ago and still had all the forces, so that's what we opted for. As Will had played the Allies previously, we agreed he would command the fallschirmjaeger. We played on a 7.5x6 foot table with the Corinth canal running down the centre of the table, as per the scenario from the Rapid-fire site (http://www.rapid-fire-uk.com/300/corinth-canal/?osCsid).
The Germans start with 2 companies of glider landed engineers at the bridge and then they select two landing zones either side of the canal. Then the Allies deploy - a Greek battalion in Corinth town and a New Zealand Infantry battalion anywhere more than 20 inches from the bridge on the northern side. I chose to deploy the New Zealand battalion in an arc facing the bridge at the 20 inch deployment limit. One bofors battery was deployed with the New Zealanders and one on the hill outside Corinth.
When the German paratroopers landed, they chose the open area on the other side of the hill from Corinth for one battalion, where the troopers landed in a relatively tightly compact group, loosing one figure to bofors reserved fire, and immediately opened small arms and grenade attacks on the bofors gun in response, neutralising 2 crew. The other battalion landed immediately in front of, or around the New Zealanders. Reserve bofors fire removed three figures, while small arms and grenade attacks removed 1 bofors crewman, one MMG crewman and one figure from one of the dug in companies. In reply, the Greeks moved out of Corinth at top speed heading for the crest of the hill, while a reserve Kiwi carrier platoon waited at the board edge to see what would happen next. The Kiwis on the other side of the canal immediately got stuck in to the paratroopers, inflicting at least 10 casualties, while the mortar opened fire on the engineers, inflicting a casualty on the group on the nearside. Thus ended Turn 1, with the paratroopers facing the Kiwis already in a pickle and an epic confrontation about to erupt on the outskirts of Corinth between a regular Greek battalion, supported by a Kiwi carrier platoon and the other paratrooper battalion.
Turn 2 saw the paratroopers consolidate on their canisters and open up with all they had on the Kiwis, silencing the bofors and the MMG, but not achieving much against the dug in infantry. The PAK36 scooted across the bridge and took up position on the Corinth side. The engineers advanced towards the Kiwis to cut off a Kiwi company advancing through the nearby woods. Over on the Corinth side, the paratroopers consolidated on their canisters and removed another bofors crewman. In reply, the Greeks advanced into sight of the paratroopers while the Kiwi carriers skirted the base of the hill and came up on the paratroopers flank, making sure to keep out of sight of the PAK36. The Greeks silenced another handful of paratroopers. The Kiwis on the other side of the canal kept up withering fire on the other paratrooper battalion, whittling numbers down to a first morale test. Despite their elite status, a pinned down result meant they were keeping their heads down.
In turn 3, a Stuka flight appeared over Corinth and dive bombed the Greeks on the hill - to no effect. In the firefight on the hill, the Greeks lost 8 or so figures, while the paratroopers occupied the bofors position. On the other side of the canal, the pinned paratroopers inflicted very few loses on the Kiwis, although the engineers flamethrower removed 5 figures from the Kiwis in the woods. The Allies continued the fight on the hill, inflicting additional paratrooper casualties. To the north, 2 Vickers MkIV tanks appeared and advanced to within close range of the paratroopers around the bofors, while the Kiwis opened up with everything they had. The Kiwi 3" and 2" mortars fired on the engineers, eliminating all but the flamethrower in the first company. Surprisingly, the pinned paratroopers rallied.
Turn 4 saw the Stuka successfully bomb a Greek company, causing 3 casualties while the ongoing firefight took the Greeks to within 2 figures of a morale test. On the other side of the canal, the flamethrower, now consolidated with the second company, flamed the last of the Kiwis in the woods. The PAK 36 by the bridge inflicted heavy damage on one of the MkVIs. In response, the Greeks and Kiwi carriers kept causing losses on the paratroopers on the hill, while the Kiwi battalion on the other side caused further casualties to the engineers and surviving paratroopers, with one company advancing to close the range on the occupied bofors position.
Turn 5 was the decider. Further losses to the Greeks forced a morale test, which they passed with no offensive action. The Stuka attacked the MkVIs with no effect and then left the table having used all its armament. The battalion HQ company of the Kiwis took some minor losses to the paratroopers. Outside Corinth, a reserve of lorried Kiwi infantry arrived and headed towards the hill to join the firefight. The Greeks and Kiwi carriers inflicted more losses on the paratroopers. The MkVIs advanced to just short of the bridge and fired on the PAK 36 to no effect. However, the Kiwis caused losses to the paratroopers and engineers causing morale tests. In the resultant checks, the paratroopers had had enough and began putting their hands up and emerging from their positions. The engineers kept in the fight but with less than a company left, were in no condition to carry on the fight. At this point, the bridge exploded, presumably the demolition charges had been hit by MkVI fire and the whole lot had gone up. This meant the Germans could not achieve any of their objectives and the game was effectively over.
All in all, I found this a really enjoyable game. The confusion of the paratroopers landing on top of a deployed Kiwi battalion was the highlight for me, as the game could have gone either way at that point. Some better assault die roles for the paratroopers in the first turn and the Kiwis would have been in a lot more trouble. The landings against the Greeks were more successful initially, but the Greeks resolute advance and attrition kept them occupied throughout the game. The Stuka attacks also weren't too effective and again the outcome might have been different if the Greeks had taken more casualties in the early stages.
Thanks to Will for supplying the figures, scenery and for a most enjoyable game. Thanks to you too for looking.
The Germans start with 2 companies of glider landed engineers at the bridge and then they select two landing zones either side of the canal. Then the Allies deploy - a Greek battalion in Corinth town and a New Zealand Infantry battalion anywhere more than 20 inches from the bridge on the northern side. I chose to deploy the New Zealand battalion in an arc facing the bridge at the 20 inch deployment limit. One bofors battery was deployed with the New Zealanders and one on the hill outside Corinth.
When the German paratroopers landed, they chose the open area on the other side of the hill from Corinth for one battalion, where the troopers landed in a relatively tightly compact group, loosing one figure to bofors reserved fire, and immediately opened small arms and grenade attacks on the bofors gun in response, neutralising 2 crew. The other battalion landed immediately in front of, or around the New Zealanders. Reserve bofors fire removed three figures, while small arms and grenade attacks removed 1 bofors crewman, one MMG crewman and one figure from one of the dug in companies. In reply, the Greeks moved out of Corinth at top speed heading for the crest of the hill, while a reserve Kiwi carrier platoon waited at the board edge to see what would happen next. The Kiwis on the other side of the canal immediately got stuck in to the paratroopers, inflicting at least 10 casualties, while the mortar opened fire on the engineers, inflicting a casualty on the group on the nearside. Thus ended Turn 1, with the paratroopers facing the Kiwis already in a pickle and an epic confrontation about to erupt on the outskirts of Corinth between a regular Greek battalion, supported by a Kiwi carrier platoon and the other paratrooper battalion.
Turn 2 saw the paratroopers consolidate on their canisters and open up with all they had on the Kiwis, silencing the bofors and the MMG, but not achieving much against the dug in infantry. The PAK36 scooted across the bridge and took up position on the Corinth side. The engineers advanced towards the Kiwis to cut off a Kiwi company advancing through the nearby woods. Over on the Corinth side, the paratroopers consolidated on their canisters and removed another bofors crewman. In reply, the Greeks advanced into sight of the paratroopers while the Kiwi carriers skirted the base of the hill and came up on the paratroopers flank, making sure to keep out of sight of the PAK36. The Greeks silenced another handful of paratroopers. The Kiwis on the other side of the canal kept up withering fire on the other paratrooper battalion, whittling numbers down to a first morale test. Despite their elite status, a pinned down result meant they were keeping their heads down.
In turn 3, a Stuka flight appeared over Corinth and dive bombed the Greeks on the hill - to no effect. In the firefight on the hill, the Greeks lost 8 or so figures, while the paratroopers occupied the bofors position. On the other side of the canal, the pinned paratroopers inflicted very few loses on the Kiwis, although the engineers flamethrower removed 5 figures from the Kiwis in the woods. The Allies continued the fight on the hill, inflicting additional paratrooper casualties. To the north, 2 Vickers MkIV tanks appeared and advanced to within close range of the paratroopers around the bofors, while the Kiwis opened up with everything they had. The Kiwi 3" and 2" mortars fired on the engineers, eliminating all but the flamethrower in the first company. Surprisingly, the pinned paratroopers rallied.
Turn 4 saw the Stuka successfully bomb a Greek company, causing 3 casualties while the ongoing firefight took the Greeks to within 2 figures of a morale test. On the other side of the canal, the flamethrower, now consolidated with the second company, flamed the last of the Kiwis in the woods. The PAK 36 by the bridge inflicted heavy damage on one of the MkVIs. In response, the Greeks and Kiwi carriers kept causing losses on the paratroopers on the hill, while the Kiwi battalion on the other side caused further casualties to the engineers and surviving paratroopers, with one company advancing to close the range on the occupied bofors position.
Turn 5 was the decider. Further losses to the Greeks forced a morale test, which they passed with no offensive action. The Stuka attacked the MkVIs with no effect and then left the table having used all its armament. The battalion HQ company of the Kiwis took some minor losses to the paratroopers. Outside Corinth, a reserve of lorried Kiwi infantry arrived and headed towards the hill to join the firefight. The Greeks and Kiwi carriers inflicted more losses on the paratroopers. The MkVIs advanced to just short of the bridge and fired on the PAK 36 to no effect. However, the Kiwis caused losses to the paratroopers and engineers causing morale tests. In the resultant checks, the paratroopers had had enough and began putting their hands up and emerging from their positions. The engineers kept in the fight but with less than a company left, were in no condition to carry on the fight. At this point, the bridge exploded, presumably the demolition charges had been hit by MkVI fire and the whole lot had gone up. This meant the Germans could not achieve any of their objectives and the game was effectively over.
All in all, I found this a really enjoyable game. The confusion of the paratroopers landing on top of a deployed Kiwi battalion was the highlight for me, as the game could have gone either way at that point. Some better assault die roles for the paratroopers in the first turn and the Kiwis would have been in a lot more trouble. The landings against the Greeks were more successful initially, but the Greeks resolute advance and attrition kept them occupied throughout the game. The Stuka attacks also weren't too effective and again the outcome might have been different if the Greeks had taken more casualties in the early stages.
Thanks to Will for supplying the figures, scenery and for a most enjoyable game. Thanks to you too for looking.
Monday, 2 September 2013
20mm Fallschirmjaeger
They were washed in detergent and undercoated in acrylic gesso - all paints used were Vallejo except Middle East flesh which is an old pot of Howard Hues. Unfortunately, the Airfix plastic used for these figures is really soft and unusually water repellent. The jump smock was painted in Russian Uniform and highlighted with Green grey, helmet, trousers and jacket lapels were painted in German Luftwaffe grey, highlighted with the base coat and a little white. Water bottles are Flat brown with Black grey boots and webbing, weapons are Beige brown and Gunmetal. SMG magazine holders and ammo pouches are Beige. Skin is painted using Middle East Flesh base and Medium flesh highlights. Insignia were painted on in White. The figures were washed with dilute Army Painted dark tone ink and varnished courtesy of Wilkinsons matt acrylic varnish.
I'm generally pretty pleased with the way these have turned out. There should be enough basic infantry in the two boxes of Airfix figures for three battalions, and I will fill out the specialist equipment with some SHQ purchases, either later this month or sometime in October. This should provide enough forces for some Crete-based scenarios. With some appropriate engineer figures, I should also be able to do some of the Low Countries actions such as Eben Email and the actions in the Netherlands.
Thanks for looking.
Labels:
20mm,
Airfix,
fallschirmjaeger,
Rapid-Fire,
Vallejo,
ww2
Subscribe to:
Posts (Atom)