Translate

Thursday 29 October 2015

Flames of War Vietnam - test game

We played out a test game at the club tonight.  Way too much Free World armour on the table, meant the VC/NVA player was shot up pretty badly, but at least we tried out quite a few of the rules.  I had a small ANZAC force comprising a mechanised infantry platoon in turreted M113s, with support from two Centurions and two Saladin turreted M113s.  Steve deployed a US force with a mechanised infantry platoon in M113 ACAVs, plus two Duster AA vehicles and two M48s.  Phil deployed a mixed bag of NVA regular infantry platoons with various support weapons (MMGs, HMGs and recoilless rifles) and local force VC with fewer supporting weapons teams.  All figures, models and most of the scenery we used was from Steve Black's superb collection.

My ANZAC force deploying on and adjacent to the roadway.


Steve's deployment using elephant grass for concealment.


Phil's local force VC deployed around the wooded hill in the middle of the table, the adjacent plantation and the village beyond.


Direct fire from the US and ANZAC forces pinned Phil;s VC in the woods and the ANZACSs moved in to close assault, routing the VC.  Later, the ANZACs successfully searched the objective using tunnel rats.


Steve's Cobra gunship targets the fleeing remnants of Phil's local force VC.


The ANZACs consolidating on both sides of the river.


The Cobra supporting the ANZACs prepares to rocket attack the VC reserves racing towards the centre of the table, catching them in the open.


The centre of the table, now effectively cleared of VC.


Towards the end of the game, the VC player brought on a pair of regular T-55s but one was bailed out by US Cobra attacks and the other knocked out by an ANZAC Centurion.  Free World losses were one Anzac infantry squad and an M113.  The VC lost a full platoon, which failed to resurrect using the Born in the North to die in the South rule, while the supporting infantry and heavy weapons platoons were no longer even remotely combat effective and the T-55 pltoon had been effectively neutralised.

All in all a fun game but a little too one sided for my tastes.  The rules played quite well.  However, we felt they were best suited to scenarios like massed VC infantry assault on a firebase, city or runway, or actions like Khe Sahn, Dien Bien Phu or possibly the Ia Drang valley.  Small scale infantry sweeps and ambushes are best kept to rule sets like CWC or Force on Force.

A big thanks to Steve for the use of his minis and scenery and thanks to you for looking.

Monday 26 October 2015

15mm bits and bobs

Various 15mm odds and ends made it onto the painting table this week.

In the middle of November, I'm organising a big club game based on the Market Garden operation, which means we will need lots of buildings to represent Arnhem, Nijmegen and smaller towns.  Languishing at the back of a storage cupboard I had some 15mm ruins that I picked up at a show many years ago and never did anything with.  So, out they came into the daylight and then on to the painting table.  They aren't great castings, so it's a quick and dirty paint job, just to get them ready for the game.  No idea of the manufacturer.


I picked up a mixed bag of Battlefront bailed out tank crew from Paul at the club.  I painted half of them up in black uniforms.


The other half in field grey uniforms.  These should do nicely as bailed out markers.


Finally, I also painted up the Iraqi army figures from CP Models, from their Bravo Two Zero 15mm range.  These provide opposition for the SAS figures I posted pics of last month (http://sedimentswargameblog.blogspot.co.uk/2015/09/15mm-bravo-two-zero-sas-figures.html).

The whole pack of 8 figures.


Figures in hoods and helmets.


Figures in red berets.


The Iraqis are painted up as generic infantry, which should be useful for a variety of scenarios based on Middle Eastern regular forces.  At the Derby show, I picked up packs of Old Glory ME regular infantry and supports/command (as well as ME irregulars), so have the makings of a reasonable sized force to provide opposition for my Peter Pig USMC, fighting through urban areas using Baggage Train ME buildings.

As ever, thanks for looking!

Friday 16 October 2015

20mm USMC for Afghanistan complete

Well, it's taken me 10 months to wrap up the Elhiem USMC battlepack for the scenarios in Enduring Freedom, a Christmas gift from my lovely wife.  To these I've added 4 diecast AAVP-7s, two bought off e-bay and 2 from Jumblies Models in a sale they ran earlier this year.  Then a real stroke of luck when the Works started to stock M1s in their £2 range of tank models.  So this gives me enough marines for a full infantry platoon, plus assault teams with SMAWs and M240bs, an EOD team (2 actually as I already had a pack), medics plus casualty figures, a sniper team and some spare riflemen and leaders, with AAVP transport and a troop of M1 Abrams tanks.


1st squad leader, with fireteams 1 alpha, 1 bravo and 1 charlie, lined up in front of the 1st squad AAVP.


2nd squad, organised as 1st.


3rd squad, similar to 1st and 2nd.


Various leaders, suitable for platoon command officer and senior NCO (on right), various communications specialists on the left.


An ANGLICO observer figure (lone kneeling figure on left), ready to call in Close Air Support, Naval Gunfire or artillery, whichever is available.  On the right are two Para Jump rescue medics, ready to parachute in to provide medical assistance.


Two medics plus assorted casualties.


Two EOD teams with IED bases.  Standing between the two background AAVPs are a group of four spare marine infantry, plus a single shotgun armed marine.


The sniper team between AAVPs.


Four assault teams lined up alongside AAVPs.  In front are M240b gunners plus spotters, behind are SMAW gunners with loaders.


The whole marine infantry platoon with AAVP transports plus a troop of M1s in the background.  Ready for their deployment to Afghanistan or possibly to Andreivia (fictional scenarios).


These are great figures, really nice to paint, and I am really pleased with the painting technique, which is partly based on the one at the back of Enduring Freedom and quite a bit on a number of other peoples blogs.

Thanks for looking.

Saturday 10 October 2015

20mm Operation Nimrod SAS

At the Derby show last weekend, I picked up a couple of packs of Operation Nimrod SAS figures from the Urban range of Combat Miniatures, available from Stonewall Figures.  These are nice figures, a little smaller in stature than Elheim or Britannia Miniatures, but not significantly so.  There are 5 figures in the pack, all wearing overalls, four wearing NBC suit hoods and respirators and one bare headed, presumably the commander.  He and one of the troopers are armed with a pistol, the other three figures carry what look like Heckler and Koch semi-automatic weapons.  There are various pouches strapped to arms, legs, waist and hips, plus grenades and what looks like a hammer or folded grapnel hook.  The commander wears a headset with microphone.  Detail is quite crisp and raised detail responds to dry brushing well.  One of the commander figures had a miss-cast pistol which was missing the barrel, but this was easily replaced with a piece of flash cut from another model.


To reflect the very dark grey or black uniforms worn by these troopers, I base coated them Vallejo NATO black and then progressively dry brushed them basalt grey, then neutral grey.  NBC hoods are green grey.  Weapons were given a slightly heavier neutral grey dry brush, as were gloves.  For me, the prominent feature of contemporary photographs is the way the mask reveals quite a lot of the eye and surrounding eye socket and parts of the forehead, nose and cheeks, so I used flat flesh to paint in the lenses of the respirators.  Everything was washed with Army Painter dark tone ink diluted 4:1 with a drop of airbrush flow enhancer added to help the ink flow into the nooks and crannies.  They are coated in Vallejo matt varnish with gloss used for the respirator lenses.  The bases are coated in Tamiya tarmacadam basing medium.


I assume intentionally, the commander figure bears more than a passing resemblance to John McAleese, who, according to Wiki, led the SAS assault team that stormed the Iranian Embassy in London, back in 1980 (Operation Nimrod).


Will now have to think of suitable rules to use these guys on the table top, possibly Force on Force or I'm tempted by "Geezers .... "Shut It"" rules, which are more for recreating 70's cops and robbers action, but which I've seen on various blogs used for actions in Northern Ireland and others spanning the gap between civilian police actions and full military operations.

As ever, thanks for looking.

Sunday 4 October 2015

Cold War Commanders Battle for Hannover - 2nd day action

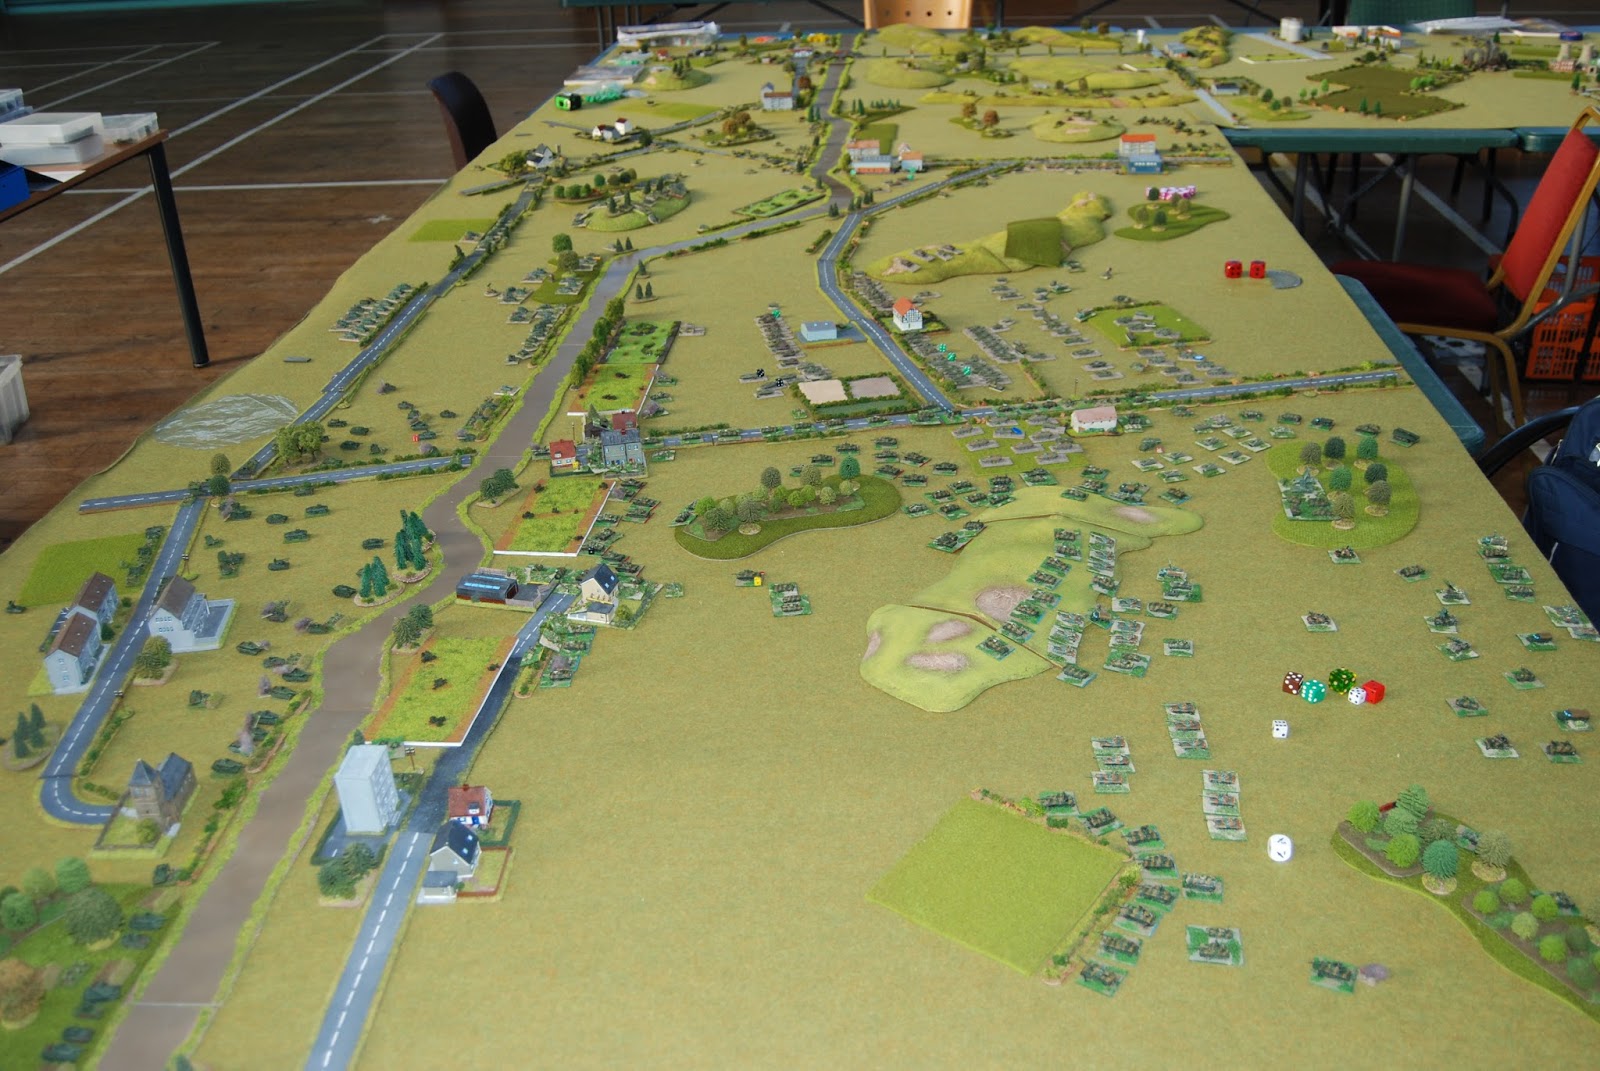
In the better light of Sunday morning, I was able to capture the tables as we finished on Saturday evening.  Starting on NATO's right flank, here are Ian's and Dennis' troops advancing on the river line held by W Germans and Belgians.  Nick's and my British armour occupy the table corner in the distance and both are pressing on Dennis' flank.


Another view.
 

Waves of Dennis' armour closing with the minefields bordering the river line.


Ian's BMP battalion closing on the W German held bridge.


Upper right my first Challenger Sqdn is closing with the hedge-lined road beyond the distant town, while more Challenger and Chieftain Sqdns race to reinforce them as well as take up firing positions on the nearby ridgeline.


In the centre of the table, Steve's British armour continue to whittle down the VDV and Spetsnaz.


On Steve's left, Andy H's US armour hold the line against Mike.


Next to Andy, Richard's Dutch push forward towards the river.


On the NATO far left, the Dutch have crossed the river, taking the fight to the Soviets, while the East Germans appear unable to significantly reinforce their bridgehead on the NATO river bank, but at least they have troops across the river.


The table held by Richard and Mark's Dutch in all its glory.


The Dutch river crossing.


Swimming M113s and snorkelling Leopards - fantastic attention to detail.


A Dutch ECM vehicle, not the infamous Winkelwagen.


The first major action of the day involved Richard C's De Groote's Fire Brigade attempting a heliborne landing behind the VDV paratroopers, deep in the Soviet rear areas.  Unfortunately, the insertion was plagued by blunders and command failures, which pretty much sealed their fate.


More shots of my armour deploying.


A Challenger Sqdn has occupied the road with troops turning along the road to take Dennis' armour in the flanks.  Several rounds of fire have KO'd or suppressed almost all of the units in the nearest Soviet battalion (green dice).  The ridgeline is now densely occupied with FV438s, Chieftains, Scimitars from my and Nick's forces and various FAOs and FACs.


Another view of the Challengers motoring towards the Soviet table edge.  One squadron has swung left to secure their flank by occupying the woods.


Another view of the British, who have the T-72s on the road between a rock and a hard place as if they turn and face the Challengers on the road, they expose their flanks to the FV438s and Chieftains on the ridge.  At the very bottom of the photo, Nick's bridging units have reached the river with the intent on crossing and allowing them to push obliquely into Dennis' troops.  He just needs to clear the town of the last remnants of Soviet MR infantry (lots of green suppression dice).


Dennis' troops, with a BMP battalion beginning to occupy the woods top left and a tank battalion rushing through the gap between the ridge line and the woods, to try and secure their flanks.  Long range ATGM fire from the road top right is about to suppress some of my Challengers. 


The mass of Ian's and Dennis' troops squaring up to the W Germans and Belgians at the river.


Major General Dennis (left) and Lieutenant General Ian carefully watch their W German and Belgian opponents.  This is the last known picture of the Soviet force commander, who, it is believed, has been forced to retire by Makarov, due to the failure of his battle plan by the end of day 2.


Mike's Soviets begin to try and force their way over the river bridge on the Dutch right indicated by the giant finger.


Soviets wading the river on the Dutch right.  The E German bridgehead is swathed in smoke in the far distance.


Andy H's US armour and Mike's Soviets showing each other a healthy respect.


Gordon's VDV fast approaching breakpoint under pressure from Steve's British armour.


Close of play.  The table groans under the weight of Ian's Soviet armour, but the bridge layers are still a long way from the river.


Dennis' troops.  The tank battalion and BMP battalion on his flank in the woods on the right have just been stonked by 105mm Abbotts, which have played merry hell with the dismounts, while his armour has been picked off by long range fire from FV438s, Challies and Chieftains.


My armour on the right.  Nicks armour has AVLB bridged the river and his armour is ready to push into the town across the river and on into Dennis' flank where he is closing with the river.


More of Nick's superb bridging units.  I'm going to have to try and get one deploying like that - maybe for my Turks next year.


Belgian and W German armour lining the river, backed up by a second line behind hedgerows along the road paralleling the river.


A group shot (photo courtesy of Ben, who is not pictured and lifted from Richard Phillips web page).  Dennis is on the far right and yours truly is standing next to him in the fetching shorts.


All in all, great fun.  Next year NATO's southern flank, the Aegean and southern Balkans.  Can't wait!  Go on JustJack, plenty of room for your USMC operating off the Coral Sea battle group.  It's only a 9 hour flight from Houston to Amsterdam and another hour to Manchester.

Thanks for looking.