Continuing from the previous post on Russian aircraft, here is a flight of four A-10 Thunderbolt IIs (Warthogs). Again, these were in the bring and buy box from Gauntlet. I painted these up using the three colour scheme from the Team Yankee rule book, although I used Russian uniform, Gunship green and mig-grey. The front two aircraft are from Heroics and Ros, the two behind are from another manufacturer and while OK are not great. Whereas the H&R versions are modelled with hardpoints for weapons load outs, the other two aren't, so will probably be retired when I get around to buying the weapons loads. I'll probably add decals when I do the load outs.
The Heroics and Ros models.
Another view.
Unknown manufacturer.
Another view.
As ever, thanks for looking.
Translate
Showing posts with label aircraft. Show all posts
Wednesday, 7 September 2016
Saturday, 3 September 2016
6mm modern Soviet airforce additions
I've been trying to get my miniatures collection stored in a more efficient and less space consuming way, so have been delving through the lead mountain. This has had the side effect of putting a smile on my wife's face as parts of her conservatory come back into view. For me, it's put me face to face with various unstarted and partially completed projects. So, I've started to go through them to decide whether they are going to be sold on or completed. One timely find was a large box of unpainted modern aircraft in 6mm, which had lain neglected since I picked them up on the bring and buy at Gauntlet in 2015.
Without further ado, here are three Mig-21 Fishbeds ("Balalaikas"). I'll use these in the ground attack role in Cold War Commander, so have painted them in a tricolour camo scheme based on some images I found on Google. I went with a sky blue underside colour, not sure how correct tht is, but you don't really see underneath as a player when you're trying to blast a NATO tank company out of a wood.
Another view.
Then here are three more Mig-21s in a uniform aluminium finish. I thought these better represent an earlier scheme (1960s-70s) or in a fighter role.
Another view.
And finally, for this post, a Yak-28 Brewer, which I will use either as a tactical bomber or an ECM aircraft. I again went with a three colour camo scheme of sand, green and earth as random splodges, again based on a 1980s/90s image on Google.
Another view.
A better perspective of the camo scheme. There is something about this aircraft that really appeals to me, it looks like it was meant to move quickly, which of course it was.
So, that more than doubles my Soviet airforce and trebles my Soviet fixed wing aircraft. There were many more in the box, which I'm sorting and, in some cases, trying to identify both aircraft type and manufacturer. I think all of these are from Heroics and Ros.
As ever, thanks for looking.
Without further ado, here are three Mig-21 Fishbeds ("Balalaikas"). I'll use these in the ground attack role in Cold War Commander, so have painted them in a tricolour camo scheme based on some images I found on Google. I went with a sky blue underside colour, not sure how correct tht is, but you don't really see underneath as a player when you're trying to blast a NATO tank company out of a wood.
Another view.
Then here are three more Mig-21s in a uniform aluminium finish. I thought these better represent an earlier scheme (1960s-70s) or in a fighter role.
Another view.
And finally, for this post, a Yak-28 Brewer, which I will use either as a tactical bomber or an ECM aircraft. I again went with a three colour camo scheme of sand, green and earth as random splodges, again based on a 1980s/90s image on Google.
Another view.
A better perspective of the camo scheme. There is something about this aircraft that really appeals to me, it looks like it was meant to move quickly, which of course it was.
So, that more than doubles my Soviet airforce and trebles my Soviet fixed wing aircraft. There were many more in the box, which I'm sorting and, in some cases, trying to identify both aircraft type and manufacturer. I think all of these are from Heroics and Ros.
As ever, thanks for looking.
Saturday, 12 December 2015
6mm Sea Vixen and Gannet
Not much painting progress recently. I painted these a while ago, but never got round to photographing them. These are Heroics and Ros Sea Vixen and Gannet models, representing aircraft that date back to the 1970's when Britain still had real aircraft carriers with fixed wing aircraft, unlike today where we have new aircraft carriers being built but nothing to fly off them for a few years yet! Tax money, easy come easy go. I spent my teenage years in the mid- to late-70's fishing for Flounder on the River Tamar under the shadow of first HMS Eagle and then HMS Ark Royal before they were eventually towed away and broken up for scrap, thus ending the need for aircraft like these.
They are painted in dark sea blue and ivory, with royal blue and flat red hand painted markings. Flight stands are from Litko.
The twin boom Sea Vixen.
The Gannet, loaded with lots of electronic kit.
Nice models, relatively simple to paint with no assembly. Not sure I'll ever get them on the table top, but nicely evocative of the period.
Thanks for looking.
They are painted in dark sea blue and ivory, with royal blue and flat red hand painted markings. Flight stands are from Litko.
The twin boom Sea Vixen.
The Gannet, loaded with lots of electronic kit.
Nice models, relatively simple to paint with no assembly. Not sure I'll ever get them on the table top, but nicely evocative of the period.
Thanks for looking.
Sunday, 3 May 2015
6mm British attack helicopters.
After reading Richard C's helicopter resurrection blog (link http://thelandofcounterpane.blogspot.co.uk/2015/04/helicopter-resurrection.html), I decided to order myself some of the Hurlbat rotors (link http://www.hurlbat.co.uk/category-s/1824.htm). I placed an order on Thursday evening just gone for 3 Lynx rotors, 1 Gazelle and 3 AH-1 rotors, plus 7 tail rotors (completely forgot the Gazelle didn't need one as the tail rotor is built in to the tail. Got an e-mail on Friday to say they had been shipped and postie popped them through the letter box on Saturday afternoon.
I've painted up the three Lynx and Gazelle, all from Heroics and Ros, in light sea grey and NATO green camouflage, with azure glass picked out with white reflections, and black hand drawn ARMY markings plus royal blue and flat red hand drawn roundels.
The Lynx flight plus Gazelle spotter overfly a recce squadron moving up to join the fight for Hannover.
One of the Lynx in more detail. The rotor is mounted on a copper wire pin that I drilled and superglued into the rotor hub of the model. The rotor hub has a blob of black paint added and the etched rotors on the plastic disc has been washed with Army Painter dark tone ink.
The Gazelle in more detail.
One of the Lynx from another angle.
Final view of the flight overtaking the recce squadron.
These rotors are well worth the effort of adding to the models as they really do bring them to life. I think they will be making an appearance on all my future helicopter projects and also I'll start to add them to my existing USMC and French helicopters.
Thanks for looking!
I've painted up the three Lynx and Gazelle, all from Heroics and Ros, in light sea grey and NATO green camouflage, with azure glass picked out with white reflections, and black hand drawn ARMY markings plus royal blue and flat red hand drawn roundels.
The Lynx flight plus Gazelle spotter overfly a recce squadron moving up to join the fight for Hannover.
One of the Lynx in more detail. The rotor is mounted on a copper wire pin that I drilled and superglued into the rotor hub of the model. The rotor hub has a blob of black paint added and the etched rotors on the plastic disc has been washed with Army Painter dark tone ink.
The Gazelle in more detail.
One of the Lynx from another angle.
Final view of the flight overtaking the recce squadron.
These rotors are well worth the effort of adding to the models as they really do bring them to life. I think they will be making an appearance on all my future helicopter projects and also I'll start to add them to my existing USMC and French helicopters.
Thanks for looking!
Monday, 16 February 2015
FoW Arado AR234
Another little project for Tiger Phil at the Deeside Defenders club. This time a Battlefront Arado AR234. This was a fairly straightforward model to assemble, just the engine nacelles and the external bomb load in white metal to fix to the one piece resin casting. The kit comes with a chunky clear plastic flight stand, which needs assembling and a pair of neodymium magnets, one for the recess in the fuselage and one for the top of the flight stand. You also get a set of decals, which I'm leaving for Phil to apply, and a FoW air support dice.
The aircraft was spray undercoated in Vallejo light grey primer. Panel edges and control surface edges were picked out in Vallejo NATO black. Then the top and sides were painted in Vallejo model air Green RLM62 and the underside in Vallejo Sky Blue. A camouflage pattern was added in olive green, made by mixing equal parts of reflective green and yellow green in a relatively angular splinter pattern. Engines were initially painted NATO black, then dark sand for turbine bosses and flat red for the rim of the engine nacelles. Finally, the cockpit canopies were painted azure and dry brushed white. The aircraft was coated in Vallejo matt varnish and canopies were then varnished using Vallejo gloss.
From the front quarter.
Rear quarter, allied piston engine fighters would almost certainly not be able to catch it from this position.
The underside, showing external load bombs slung from hard points underneath the engines. Seems like an awful lot of technology to carry two comparatively small bombs.
Quite a nice model to put together and paint. Not too many uses unless you're planning to try and bomb the Ludendorff Bridge, but could be used for those very late war battles with the Western Allies or the Soviet hordes.
Thanks for looking.
The aircraft was spray undercoated in Vallejo light grey primer. Panel edges and control surface edges were picked out in Vallejo NATO black. Then the top and sides were painted in Vallejo model air Green RLM62 and the underside in Vallejo Sky Blue. A camouflage pattern was added in olive green, made by mixing equal parts of reflective green and yellow green in a relatively angular splinter pattern. Engines were initially painted NATO black, then dark sand for turbine bosses and flat red for the rim of the engine nacelles. Finally, the cockpit canopies were painted azure and dry brushed white. The aircraft was coated in Vallejo matt varnish and canopies were then varnished using Vallejo gloss.
From the front quarter.
Rear quarter, allied piston engine fighters would almost certainly not be able to catch it from this position.
The underside, showing external load bombs slung from hard points underneath the engines. Seems like an awful lot of technology to carry two comparatively small bombs.
Quite a nice model to put together and paint. Not too many uses unless you're planning to try and bomb the Ludendorff Bridge, but could be used for those very late war battles with the Western Allies or the Soviet hordes.
Thanks for looking.
Labels:
aircraft,
Battlefront,
Flames of War,
German,
ww2
Sunday, 16 November 2014
1/200 Revell Apache
I picked this little model up on an impulse buy for £2 in Tesco's. It's snap together and took about 2 minutes to build, so would make a great little introduction kit for a youngster. However, I was a bit disappointed in the fit. All the parts do snap together, but the tail fins plug into a slot at the rear of the model which is formed by the two halves of the fuselage when clipped together. Unfortunately, when clipping the tail in, mine pushed the fuselage parts apart, more or less exploding the model, so I had to superglue the fuselage halves together and then glue the plug in place to keep the tail fins in place. Similarly, the underslung gun pod dropped out and had to be glued in place. Overall simple to put together, but glue was needed for mine.
The final version, not a bad rendition of the helicopter in 1:200.
Model and box it comes in.
Thanks for looking.
The final version, not a bad rendition of the helicopter in 1:200.
Model and box it comes in.
Thanks for looking.
Friday, 22 August 2014
FoW Henschel HS129
I painted this FoW Henschel HS129 for a friend, Phil at the Deeside Defenders club. This is a nice little model, I think in 1:200 scale. I sprayed the model in Vallejo grey primer, then the upper surfaces in Model Air Light brown and the underside in sky blue. Next I picked out the panel edges in Model Air NATO black, which I also then sprayed to form the cammo splodges and used to paint the AT gun, prop bosses and wheels. Finally, the cockpit canopy was painted NATO black, azure blue and white, while the prop bosses were painted white and red and the AT gun was dry brushed gunmetal. I finished it off with a coat of matt varnish and picked out the glass in the cockpit with gloss varnish. I was really pleased with the finish and so, thankfully, was Phil. I'm looking forward to seeing it when he has put the decals on.
Apologies for the graininess of the photos but I took then on my phone. As ever, thanks for looking.
Monday, 15 April 2013
Crisis Point 2 Arctic Strike 2013 - AAR
Well, after months of preparation, Arctic Strike raced by in the twinkle of an eye. I arrived later than planned, due to some heavy Friday afternoon traffic, the fact that Dungworth appears to lie within the South Yorkshire triangle and the local council had decided to close several local routes for repair. After a great evening of beer and chat in "The Royal", it was down to the village hall on the Saturday morning to finish setting up and organise our command groups.
From the pre-battle maps and scenario documents, I was expecting my USMC 4th Marine Amphibious Brigade to be pitted against either or both Soviet paratroops and Naval infantry around Bjerkvik on the middle table. During the pre-game briefing, that quickly changed and I found my marines being tasked with retaking Bodo from what appeared to be a paratrooper and a naval brigade, including at least 10 batteries of salvo rocket launchers. A follow-up force on Sunday included motor rifle and tank battalions. Fortunately, the British armoured regiment and a Dutch mechanised battlegroup were also assigned to the table, coming on from the eastern end and pushing west for Bodo. My marines would be able to land amphibiously anywhere along the southern table edge. The key terrain feature in the mid-part of the table was a bridge on the main road, close to the coast, which crossed a north south flowing river that cut the table in two.
The first couple of turns saw my marines floating offshore waiting for something to happen. Having air superiority on turn 2 and some nice marine corps air assets available, I tried to bring on a Bronco FAC spotter, only to see him brought down by SA-7s firing out of the Bodo Lidl store. The Brits made enough progress in the first 2 turns to see their advance group of armour and mechanised infantry advance onto the bridge half way across the table, but their advance was slowed by a skirmish line of Spetsnaz infantry, backed up by salvo rocket barrages. This was the time, I thought, to bring on the USMC to help take some of the heat off the Brits at the bridge and help them and the Dutch break through towards the eastern end of Bodo, thus allowing the marines to occupy Bodo airport and mop up the Soviet rear areas.
Alas, it was not to be. My marines landed on turn 3 in relatively good order on the beaches between the lighthouse and the old WW2 German fortifications. The scouts moved inland, one revealing a hidden minefield which split the bridgehead into two parts. Two infantry battalions landed in LVTP-7s and one on foot, with a reinforced M60 company in support. Unfortunately, there was no artillery support available - the Dutch were throwing their lighter artillery at the Spetsnaz around the bridge and the heavy stuff was shelling the Soviet paras around Bjerkvik. My marine air wing had already been added to the general NATO air pool, so there was no integral air support, except the Sea Cobras, and NATO air assets were giving support in the Tromso area, rather than further south. Net result, no smoke, no bombardments, no air support. The marines ran into a whole bunch of trouble. Initial op fire from BMD mounted Spigots and infantry was bad enough, but at least that provided some targets, with the M60s taking care of several BMDs and three Sea Cobras, reduced to two after one was forced to abort, taking out or suppressing some other paratroop infantry.
Unfortunately, in the Soviet turn 3, an air strike delivered a persistent nerve agent/irritant chemical attack, which effectively neutralised the bulk of the M60 company and a whole bunch of infantry on foot and in LVTPs. Then came the salvo rocket artillery - 10 batteries worth on my tightly concentrated USMC beachhead. Although deviation was quite large, the larger beaten area, coupled with the sheer number of tubes, was devastating. By the end of turn 3 (all the turns we managed to cram in on Saturday), the marines had reached breakpoint.
Saturday evening saw a worn out bunch of wargamers eating excellent pies (steak and oyster in my case) and drinking good Yorkshire Ales.
The next day, I struck lucky in returning infantry from the front line aid stations (30% infantry) and armour from the repair shops (50% armour including two of the gassed M60s). My elation was short lived. The infantry managed to get off some shots at the infantry either side of the beachhead, but most of the armour was still supressed. Any chance of artillery support disappeared when the Dutch artillery blundered off the rear edge of the table with no opportunity to return for 2 turns. Then, in the Soviet turn, in came the salvo rocket artillery, plus a whole bunch of other artillery - not to metioned the advance of at least one battalion of improved T55s. Attrition on the USMC forces was horrendous. By the end of turn 4, my forces were reduced to a breakpoint modifier so low that it was impossible for the surviving CV9 HQ to pass a break test and my battle group broke. I like to think those at the beach made it out on LVTPs and LCACs, but suspect a lot had to surrender - hopefully, their sacrifice earned them some decent treatment from the Soviets.
So, what was the experience like. I suspect I know how a WW1 general must have felt. I had spent the previous 8 months buying, painting and basing the USMC force, the last 4 months including various practice games with Ian and solo, trying to hone my skills as the battlegroup commander. I then found myself throwing them at some pretty impressive soviet assets, including regular and paratrooper infantry, armour and massive amounts of artillery backed up by anti-air artillery. They did well to last 2 turns! So, 8 months in the making, 90 minutes in the breaking - an experience more like the Somme or Paschendaele.
Setting that aside, it was great to play a part in such a large game. Our games so often take place in isolation as a single club evening game, so it was really good to see how the performance of each battle group effected the final outcome on each table. The tables themselves looked excellent - I felt really privileged to play on such high quality terrain, and against forces that had been so meticulously researched and painted up to such a high standard. It was also a great opportunity to meet and chat with wargames gliterati from all over the U.K. over a few beers.
My suggestions for improving the experience would probably echo others;
In general
Looking forward to Ian's Stalingrad game at Gauntlet. Also interested in looking at any follow up games for Arctic Strike and for a 6mm megagame in Chester in 2014 (name and period still to be confirmed), plus the possibility of a 20mm modern game, Crisis Point 3, at Dungworth next year. Just need to know what forces I'm doing and start the next arms race.
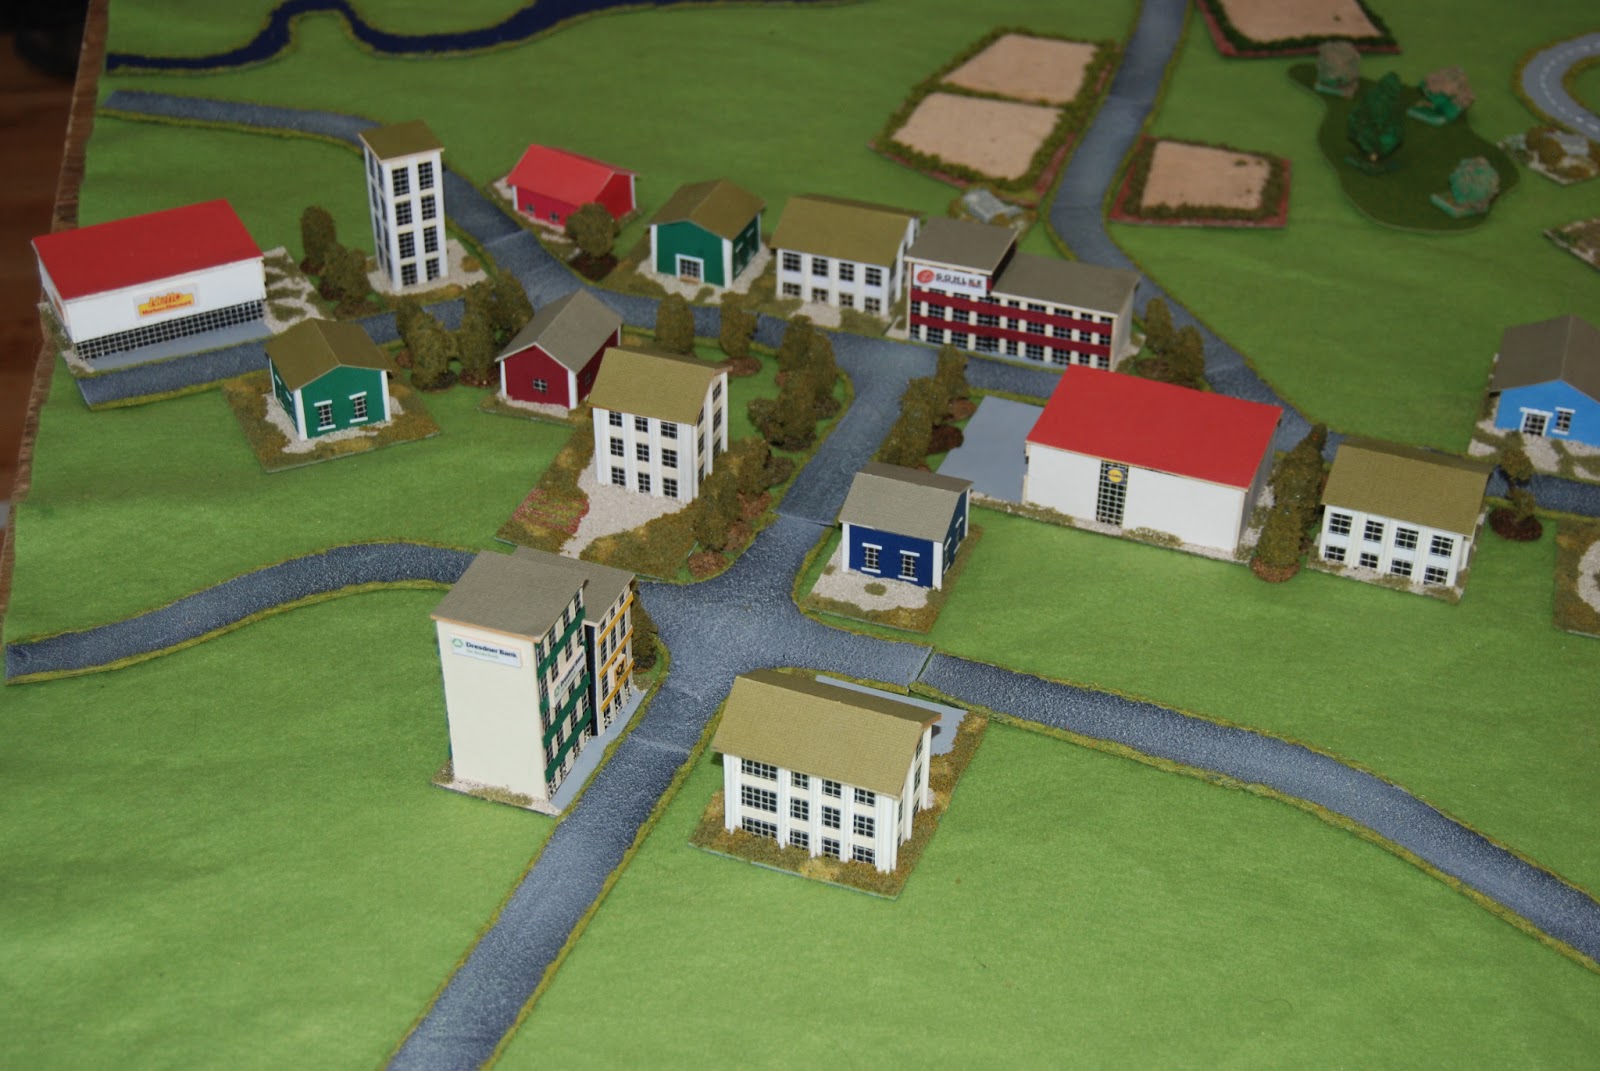
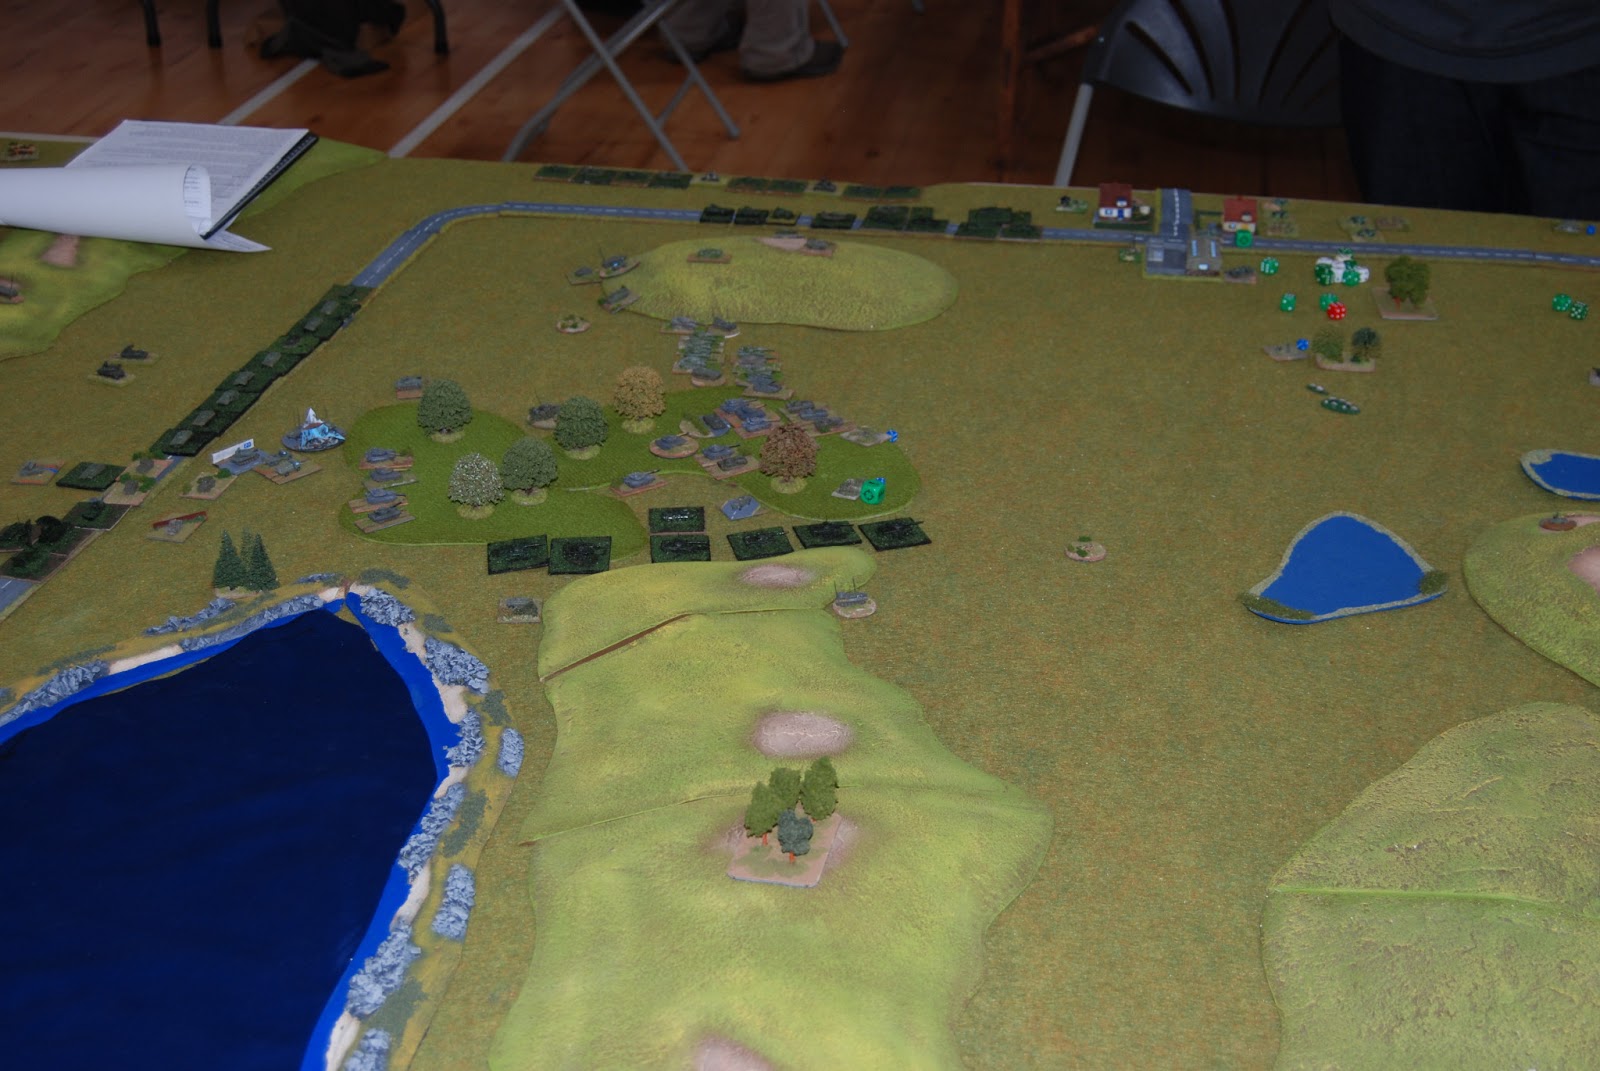
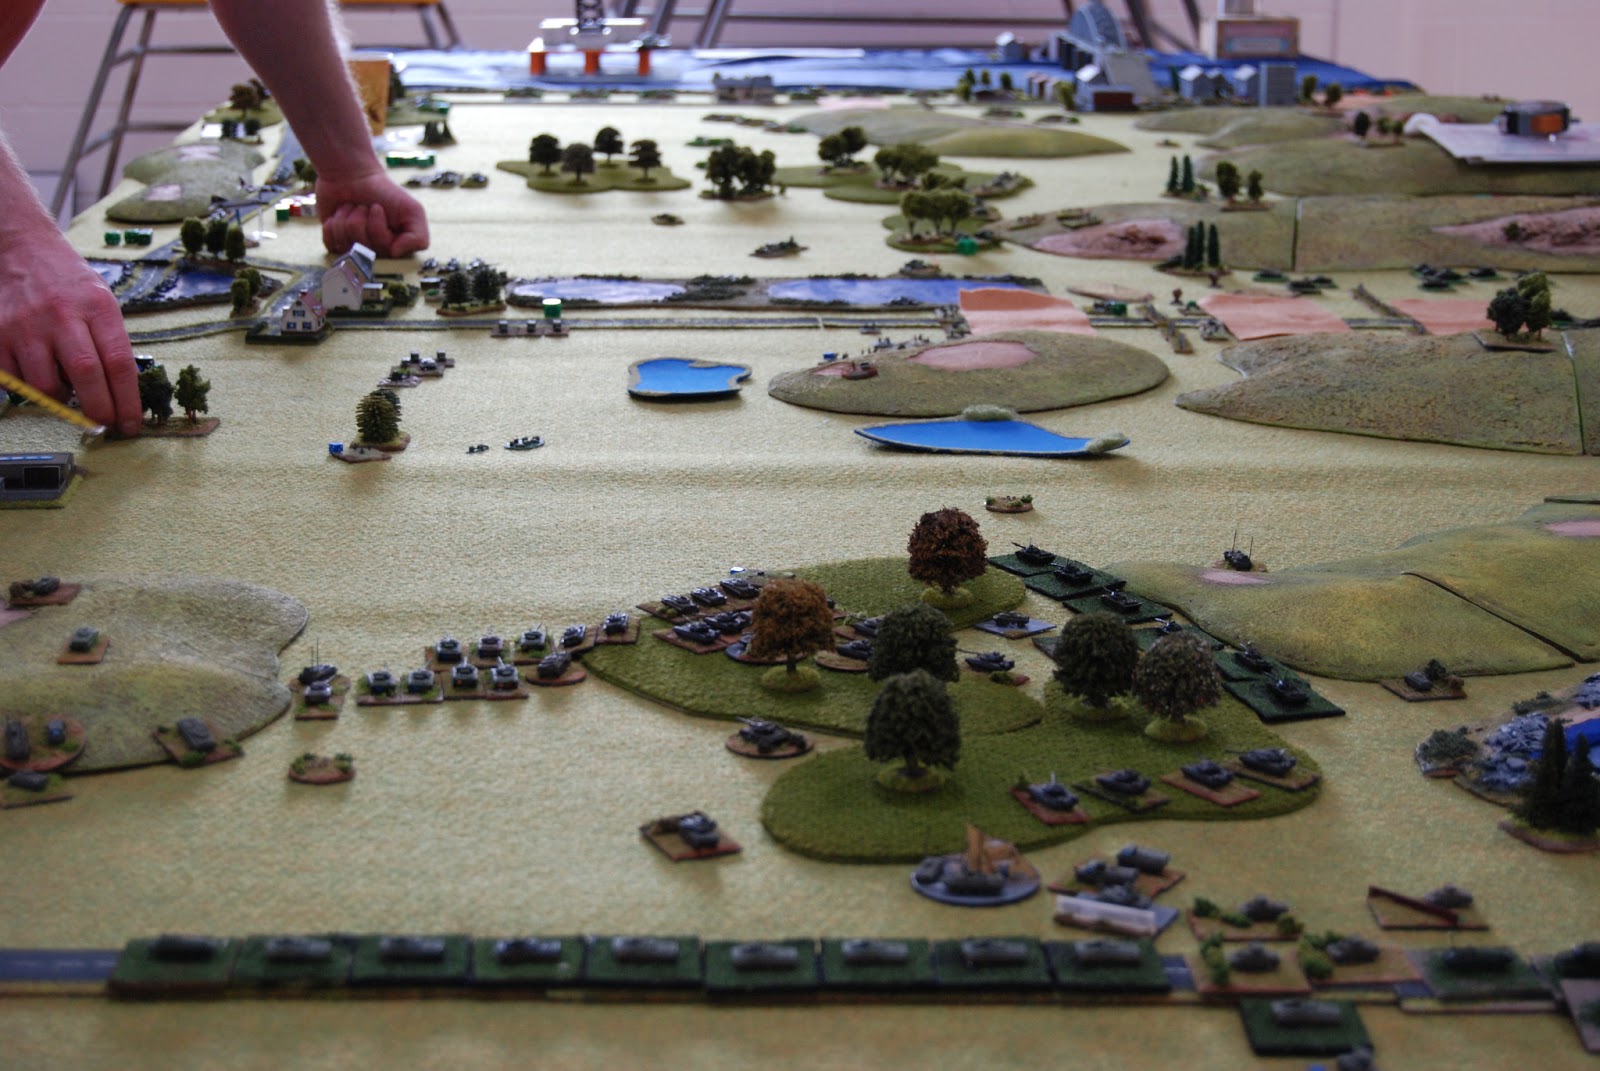
Bodo table looking west
Bjerkvik table looking north
Tromso table looking east
The Bodo coastline looking west. The choke point bridge inthe right foreground and USMC landing beaches beyond lighthouse
Oil drilling platform off Tromso
Tromso, scene of a gallant resistance by Nick's Norwegian forces
Hamlet on Bjerkvik table
Bjerkvik
Bodo airport
Downtown Bodo
The bridge choke point on the Bodo table
The chemical cloud - all that remains to make the destruction of the USMC brigade.
The E6 heading north towards Narvik and Bjerkvik (thanks Richard)
Bodo looking east
The choke point bridge outside Bodo
Soviet perimeter of Bjerkvik
Tromso bridge (actually Baggage Train Arnhem Bridge - a nice model)
Bjerkvik from north
Oil platform with Soviet disguised helicopter on pad
Tromso
Tromso bridge
View looking south on Tromso table - vital road junction by red roofed buildings top right.
The vital junction south (to left) on the Tromso table, contested by Jamie's Finns to the end of day 2.
Airstrikes on the road from Murmansk.
View west on the Tromso table near the end of day 2
From the pre-battle maps and scenario documents, I was expecting my USMC 4th Marine Amphibious Brigade to be pitted against either or both Soviet paratroops and Naval infantry around Bjerkvik on the middle table. During the pre-game briefing, that quickly changed and I found my marines being tasked with retaking Bodo from what appeared to be a paratrooper and a naval brigade, including at least 10 batteries of salvo rocket launchers. A follow-up force on Sunday included motor rifle and tank battalions. Fortunately, the British armoured regiment and a Dutch mechanised battlegroup were also assigned to the table, coming on from the eastern end and pushing west for Bodo. My marines would be able to land amphibiously anywhere along the southern table edge. The key terrain feature in the mid-part of the table was a bridge on the main road, close to the coast, which crossed a north south flowing river that cut the table in two.
The first couple of turns saw my marines floating offshore waiting for something to happen. Having air superiority on turn 2 and some nice marine corps air assets available, I tried to bring on a Bronco FAC spotter, only to see him brought down by SA-7s firing out of the Bodo Lidl store. The Brits made enough progress in the first 2 turns to see their advance group of armour and mechanised infantry advance onto the bridge half way across the table, but their advance was slowed by a skirmish line of Spetsnaz infantry, backed up by salvo rocket barrages. This was the time, I thought, to bring on the USMC to help take some of the heat off the Brits at the bridge and help them and the Dutch break through towards the eastern end of Bodo, thus allowing the marines to occupy Bodo airport and mop up the Soviet rear areas.
Alas, it was not to be. My marines landed on turn 3 in relatively good order on the beaches between the lighthouse and the old WW2 German fortifications. The scouts moved inland, one revealing a hidden minefield which split the bridgehead into two parts. Two infantry battalions landed in LVTP-7s and one on foot, with a reinforced M60 company in support. Unfortunately, there was no artillery support available - the Dutch were throwing their lighter artillery at the Spetsnaz around the bridge and the heavy stuff was shelling the Soviet paras around Bjerkvik. My marine air wing had already been added to the general NATO air pool, so there was no integral air support, except the Sea Cobras, and NATO air assets were giving support in the Tromso area, rather than further south. Net result, no smoke, no bombardments, no air support. The marines ran into a whole bunch of trouble. Initial op fire from BMD mounted Spigots and infantry was bad enough, but at least that provided some targets, with the M60s taking care of several BMDs and three Sea Cobras, reduced to two after one was forced to abort, taking out or suppressing some other paratroop infantry.
Unfortunately, in the Soviet turn 3, an air strike delivered a persistent nerve agent/irritant chemical attack, which effectively neutralised the bulk of the M60 company and a whole bunch of infantry on foot and in LVTPs. Then came the salvo rocket artillery - 10 batteries worth on my tightly concentrated USMC beachhead. Although deviation was quite large, the larger beaten area, coupled with the sheer number of tubes, was devastating. By the end of turn 3 (all the turns we managed to cram in on Saturday), the marines had reached breakpoint.
Saturday evening saw a worn out bunch of wargamers eating excellent pies (steak and oyster in my case) and drinking good Yorkshire Ales.
The next day, I struck lucky in returning infantry from the front line aid stations (30% infantry) and armour from the repair shops (50% armour including two of the gassed M60s). My elation was short lived. The infantry managed to get off some shots at the infantry either side of the beachhead, but most of the armour was still supressed. Any chance of artillery support disappeared when the Dutch artillery blundered off the rear edge of the table with no opportunity to return for 2 turns. Then, in the Soviet turn, in came the salvo rocket artillery, plus a whole bunch of other artillery - not to metioned the advance of at least one battalion of improved T55s. Attrition on the USMC forces was horrendous. By the end of turn 4, my forces were reduced to a breakpoint modifier so low that it was impossible for the surviving CV9 HQ to pass a break test and my battle group broke. I like to think those at the beach made it out on LVTPs and LCACs, but suspect a lot had to surrender - hopefully, their sacrifice earned them some decent treatment from the Soviets.
So, what was the experience like. I suspect I know how a WW1 general must have felt. I had spent the previous 8 months buying, painting and basing the USMC force, the last 4 months including various practice games with Ian and solo, trying to hone my skills as the battlegroup commander. I then found myself throwing them at some pretty impressive soviet assets, including regular and paratrooper infantry, armour and massive amounts of artillery backed up by anti-air artillery. They did well to last 2 turns! So, 8 months in the making, 90 minutes in the breaking - an experience more like the Somme or Paschendaele.
Setting that aside, it was great to play a part in such a large game. Our games so often take place in isolation as a single club evening game, so it was really good to see how the performance of each battle group effected the final outcome on each table. The tables themselves looked excellent - I felt really privileged to play on such high quality terrain, and against forces that had been so meticulously researched and painted up to such a high standard. It was also a great opportunity to meet and chat with wargames gliterati from all over the U.K. over a few beers.
My suggestions for improving the experience would probably echo others;
In general
- better pre-game planning - detailed maps and pre-allocation of forces to allow pre-planned artillery fire programmes and air attacks.
- team briefings carried out before the event so players know the situation on the table and what is expected of them
- as early a start as possible, with a 10-15 minute briefing ahead of kicking off the first turn.
- breaking larger tables into smaller sectors or fronts managed by a single player on each side - at times dring the game I was playing for considerable amounts of time against two soviet players, while two other NATO players were waiting to get on at their end of the table.
- next time they go in to action, my Marine Air Wing will need to be prised from my cold dead hands
- next time they go into action, my marines will have full naval fire support, including at least one Iowa class battleship firing preplanned barrages on map targets
- next time they go into action, if the Dutch (no offence to any real citizens of the Netherlands living or dead) swan around touring the countryside, they'll find themselves the targets of the air wing, if not a couple of tac nukes.
- next time I'll have the full M60 battalion with me.
- large scale D-day type landings are a thing of the past, especially if contested. Marines are best off seizing objectives by coup de main and then holding them.
Looking forward to Ian's Stalingrad game at Gauntlet. Also interested in looking at any follow up games for Arctic Strike and for a 6mm megagame in Chester in 2014 (name and period still to be confirmed), plus the possibility of a 20mm modern game, Crisis Point 3, at Dungworth next year. Just need to know what forces I'm doing and start the next arms race.
Bodo table looking west
Bjerkvik table looking north
Tromso table looking east
The Bodo coastline looking west. The choke point bridge inthe right foreground and USMC landing beaches beyond lighthouse
Oil drilling platform off Tromso
Tromso, scene of a gallant resistance by Nick's Norwegian forces
Hamlet on Bjerkvik table
Bjerkvik
Bodo airport
Downtown Bodo
The bridge choke point on the Bodo table
The chemical cloud - all that remains to make the destruction of the USMC brigade.
The E6 heading north towards Narvik and Bjerkvik (thanks Richard)
Bodo looking east
The choke point bridge outside Bodo
Soviet perimeter of Bjerkvik
Tromso bridge (actually Baggage Train Arnhem Bridge - a nice model)
Bjerkvik from north
Oil platform with Soviet disguised helicopter on pad
Tromso
Tromso bridge
View looking south on Tromso table - vital road junction by red roofed buildings top right.
The vital junction south (to left) on the Tromso table, contested by Jamie's Finns to the end of day 2.
Airstrikes on the road from Murmansk.
View west on the Tromso table near the end of day 2
Subscribe to:
Posts (Atom)