The whole platoon.

Command section

5 man rifle section on the right, 3 man MG34 section on the left.

Another, better view of the 5 man rifle section, with the MG34 team at the far end.

View switched so the MG34 team is closer.

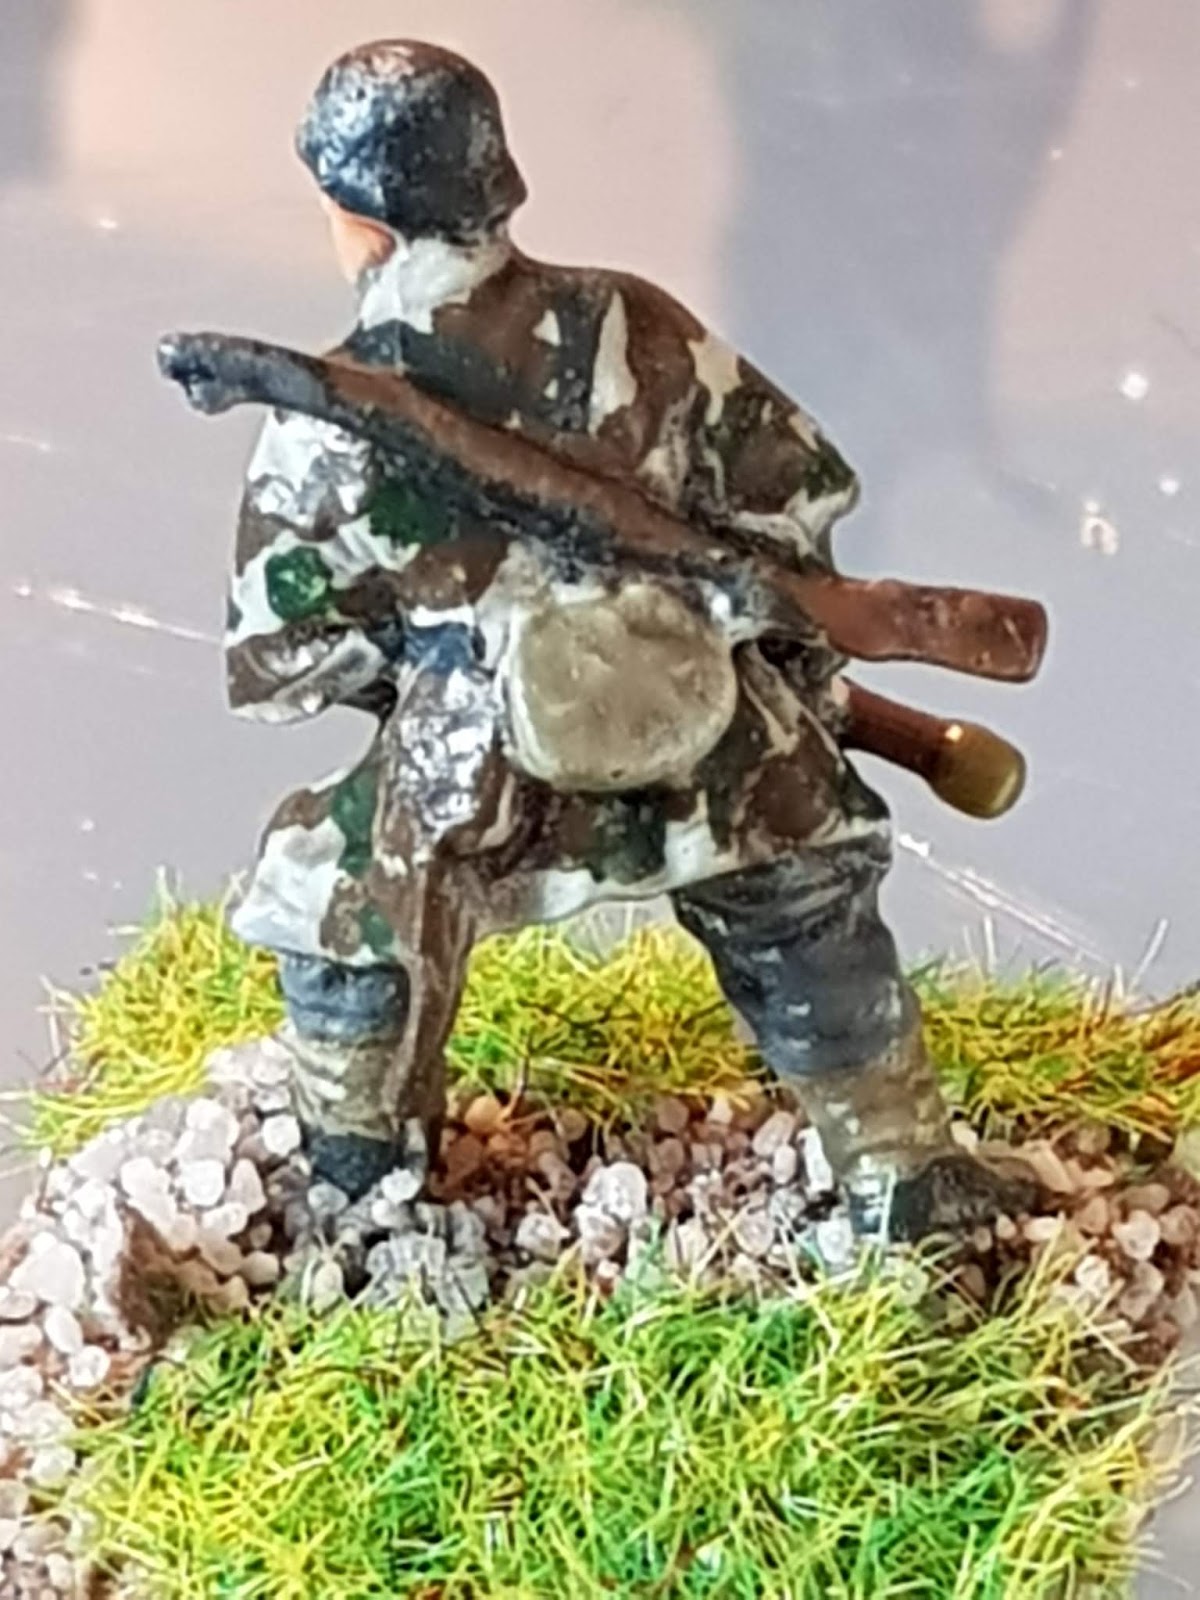
Rear view, showing the men's personal equipment.

The command team, officer with MP40 (I think) with senior NCO behind - there are two of these figures in the Caesar set and they seem right for a grizzled and battle hardened NCO. Something to do with the set of the shoulders?


Command section rear view.

Detail of the NCO figure.

Rifleman throwing a stick grenade

Panzerfaust firer. To the eye, the figure looks fine, but close up the magnification and lighting highlight loads of little bubbles in the top layer of matt varnish. Good job I'm switching to the Galleria varnishes as I've had no trouble with them.

Rifleman preparing grenade.
And again from the front.

MG34 team.


MP40 gunner. Again, this chap suffers from a pitted surface on the matt varnish layer - not noticeable to the eye, but the magnification really picks it up.


SHQ radio operators - also suffering bubbly varnish.


As I said, I did these guys using a recipe from the Farnworth guide and chose Deck Tan as the base as this seems to be the best option for the background colour of the earlier splinter pattern which was most commonly used on Zeltbahns. I've tried to put the colour swatches on in inclined streak of brown with irregular blebs of green and to keep the edges of the base colour relatively well-defined. Base uniform colour is London Grey for trousers and WW2 German field grey for jacket sleeves. The figures were washed in Agrax earthshade, diluted 50:50 with flow improver. The base gloss varnish was Vallejo, which worked well, but I was really disappointed with the final coat of Vallejo matt varnish - I shook this well to get a thorough mix and brush applied it carefully to avoid any froth, but it doesn't seem to have worked, so I'm switching to the Galleria varnishes - I used the Galleria matt varnish on my Brit paras, posted previously, and they seem to have turned out fine. The Galleria varnish is much thinner and goes on like water or flow improver. I've just picked up some gloss varnish, so will be trying that out soon.
Thanks for looking.
Now they look great 👍 have to pick up a copy at Carronade I believe Mr Farnworth will be there 😁
ReplyDeleteThanks Richard, just wish I'd realised the varnish wasn't playing ball properly. Only noticed it when I took the close-up shots!!! The guide is great - at least it provides a great place to start and there's lots of information on paint colour codes from different ranges.
DeleteCheers, Andy