Translate

Saturday, 22 November 2014

20mm EOD team Afghanistan

I've been working on the Britannia British EOD team.  Below are some images from Google that I used as a guide for the specialist in the armoured suit.


This is my EOD team, with an armoured suited figure and EOD robot vehicle, plus a pair of mine detector specialists.


These were excellent figures, really crisp detail and they painted up really easily.

Thanks for looking.

Friday, 21 November 2014

Force on Force game tonight

I spent an interesting and enjoyable couple of hours tonight playing my first game of Force on Force as the regular player.  It was an interesting scenario, involving two sections of modern British infantry, each of two fire teams (minimi gunner, SA80 UGL grenadier, SA80 rifleman and NCO with SA80), plus a platoon HQ of officer with SA80, sergeant with SA-80 and UGL, designated marksman and medic with SA80).  The aim was to cross the start line, advance to identify the forward line of enemy troops (FLET), establish contact and then retire back across the start line, all within 8 turns.  I gained VPs by advancing as far as the FLET, knocking out hot spots at and beyond the FLET and for evacuating any seriously wounded and/or avoiding any KIA.

I realised, from the pre-game briefing, that my troops would have to make at least a couple of fast moves, in order to cover the distance to the FLET and still be able to spend a couple of turns driving off the insurgents.  In the map below AB is the start line, while X-Y is the FLET.  1-5 are insurgent hot spots.

Note:  Map and scenario are sourced from Donogh Mccarthy's BlogSpot "land war in asia".
Link: http://donoghmccarthy.blogspot.co.uk/


I rushed my sections forward in turns 1 and 2, with a fire team occupying the corner of the second field up from the start line and the HQ section occupying the building below the large hill on the right flank.  In turn 3 I pushed two fire teams forward towards the FLET and one team towards hot spot 5 down the right flank, leaving the HQ and one fire team in the field on overwatch.  The two fire teams advancing towards the FLET failed their TQ roles and so couldn't occupy the pair of buildings to the left of the main hill.  On the right flank, the fire team advancing on hot spot 5 ran in to a small insurgent RPG team which they neutralised, but then came under fire from a larger group of insurgents on hot spot 1.  These caused two casualties on the right flank fire team.  The medic rushed across, only to roll snake eyes, 2 KIA!

In turn 4, the fire team in the field went on overwatch, while the HQ team rushed to reinforce the right flank.  The mobile fire teams in the centre both failed again to enter either building.  Fire directed at them from hot spot 3 in the left hand compound was ineffective due to overwatch fire from the field and response fire from the troops in the open, which effectively neutralised the insurgents.  Insurgent reinforcements comprised a dushka armed technical that appeared at hot spot 5.

Turn 5 saw one of the mobile teams in the centre managed to enter a building, while the other attempted to manoeuvre around to occupy hot spot 4.  However, coming under fire from insurgents on hot spot 1 stopped them just short of hot spot 4.  Fire from the HQ suppressed the technical on hot spot 5.  At this point the insurgents struck really lucky with reinforcements and a group of insurgents appeared in the street at hot spot 4, directly in front of the British fire team in the open.

In turn 6 the teams in the field and newly occupied central building went on overwatch, while the HQ engaged the technical and the fire team in the open engaged the insurgents on hot spot 4 and in response they attempted to close assault the team in the open.  Fortunately, overwatch and response fire reduced their numbers and against all expectations, the insurgent failed their morale and had to retire into the building opposite hot spot 4.  However, one further casualty in the fire team in the open resulted in a medic first aide test - you guessed it a 1, so another British casualty.

At this point the British had no chance of withdrawing to the start line by turn 8 and so spent their time attempting to neutralise the insurgent groups within sight.  The technical was driven off with gun damage and the insurgent group on hot spot 1 was eliminated, while insurgents kept pouring forward from hot spot 2, although overwatch fire punished them severely.

So at the end, the British had scored 3 VP for reaching the FLET and making contact with the insurgents, while the insurgents had scored 9 VP, 3 for each British KIA.  The British had managed to eliminate three insurgent groups and inflict close to 50% casualties on the other groups, but against an enemy prepared to disregard casualties, this wasn't enough.

An interesting and challenging game.  The insurgent player did well, concentrating his forces in attempts to overwhelm parts of the British force.  Generally, these were beaten off with heavy losses, except initially where the British right flank fire team was more effectively isolated.  Of course, it didn't help that the medic seemed to have lost his first aide mojo - I mean, throwing three 1's, whatever next.  The British platoon leader (i.e. me) now has to go back to his fire base and rethink his small unit infantry tactics.  I'll wait and see whether the umpire (Mike) has any comments regarding my impressions of the engagement.

Only a couple of pictures I'm afraid, and only of the British start line.


Thanks for looking.

Thursday, 20 November 2014

20mm British medics Afghanistan

These are the Britannia medics for the British in Afghanistan, one with a casualty and one without.  As ever with the Britannia figures, lots of detail on the model and very little flash, so almost no work to prepare these figures.  The casualty is depicted in a pretty bad way (heavy wound for FonF) with a bandaged chest wound and open wounds to his knees and shins, presumably depicting the victim of a blast injury from an IED or mine.  He could certainly do with immediate CASEVAC.


Nice models, these will find a way into the platoon HQ section to provide advanced first aid to the platoon.  Hopefully they will be making an appearance on-table at the club tonight in a FonF scenario involving my "Devonshire Dragoons".

Thanks for looking.

Wednesday, 19 November 2014

Saga Anglo-Dane Warriors

My next unit of Anglo-Danes is now wrapped up.  This time a unit of 8 Warriors, wearing helmets and carrying a mixture of spears, with scattered swords and axe-armed figures.  None wear armour and all carry round shields, although the leader carries a kite shield.


Again a really colourful bunch on the table top.  Very pleasing to see this warband growing.  I've got one more unit of 8 Warriors on the painting table and a unit of 12 Levy to complete the 6 point warband for Saga.  If I can get them wrapped up by New Year, that will be one of my New Years resolutions complete.  Just the ECW battalia and 28mm WW2 Russians left over.

As ever, thanks for looking.

Sunday, 16 November 2014

Chechen heavy weapons in 20mm

I've added some extra heavy weapons teams to my Chechen force for Andreivia (Arc of Fire) and Force on Force. These are all from Under Fire Miniatures, three SPG-9 teams and an AGS-17 AGL.  Rear right is the original SPG-9 team I painted last year, in front are the two additions.


One of the SPG-9 teams in more detail, ready to meet the Andreivian Armenian armour.


The AGS-17 team for when the opposition infantry gets a bit bunched up.


Thanks for looking.
1/200 Revell Apache

I picked this little model up on an impulse buy for £2 in Tesco's.  It's snap together and took about 2 minutes to build, so would make a great little introduction kit for a youngster.  However, I was a bit disappointed in the fit.  All the parts do snap together, but the tail fins plug into a slot at the rear of the model which is formed by the two halves of the fuselage when clipped together.  Unfortunately, when clipping the tail in, mine pushed the fuselage parts apart, more or less exploding the model, so I had to superglue the fuselage halves together and then glue the plug in place to keep the tail fins in place.  Similarly, the underslung gun pod dropped out and had to be glued in place. Overall simple to put together, but glue was needed for mine.

The final version, not a bad rendition of the helicopter in 1:200.


Model and box it comes in.


Thanks for looking.

20mm Britannia British vehicles

Credit where it's due, amazing service from Grubby Tanks/Britannia.  I placed an order for some vehicles and figures over the weekend and received them on the following Wednesday.  Not only that, but I received some complementary figures in the package as well.

Here are the vehicles that I ordered. First up the Jackal.  I was a little disappointed with this particular model as there was quite a lot of damage due to bubbles.  I had to fill quite a few with air-drying modelling clay, which generally worked well, but one of the smoke dischargers had almost disappeared.  However, once cleaned up and painted, the model looks really nice and the figures are excellent, with very nice raised detail which paint up well.  I've used some blu-tak type stuff to fix the figures in place so that I can remove them if the vehicle is hit.  I tried to give them a dusty/dirty "in theatre" look by washing them in Army Painter strong tone ink, which was then largely brushed off during application of the matt varnish, leaving the ink in recesses and around panel edges or raised detail like rivets.


A pair of WMIKs ready to go out on patrol.  These were much crisper models with hardly any bubbling of the resin.


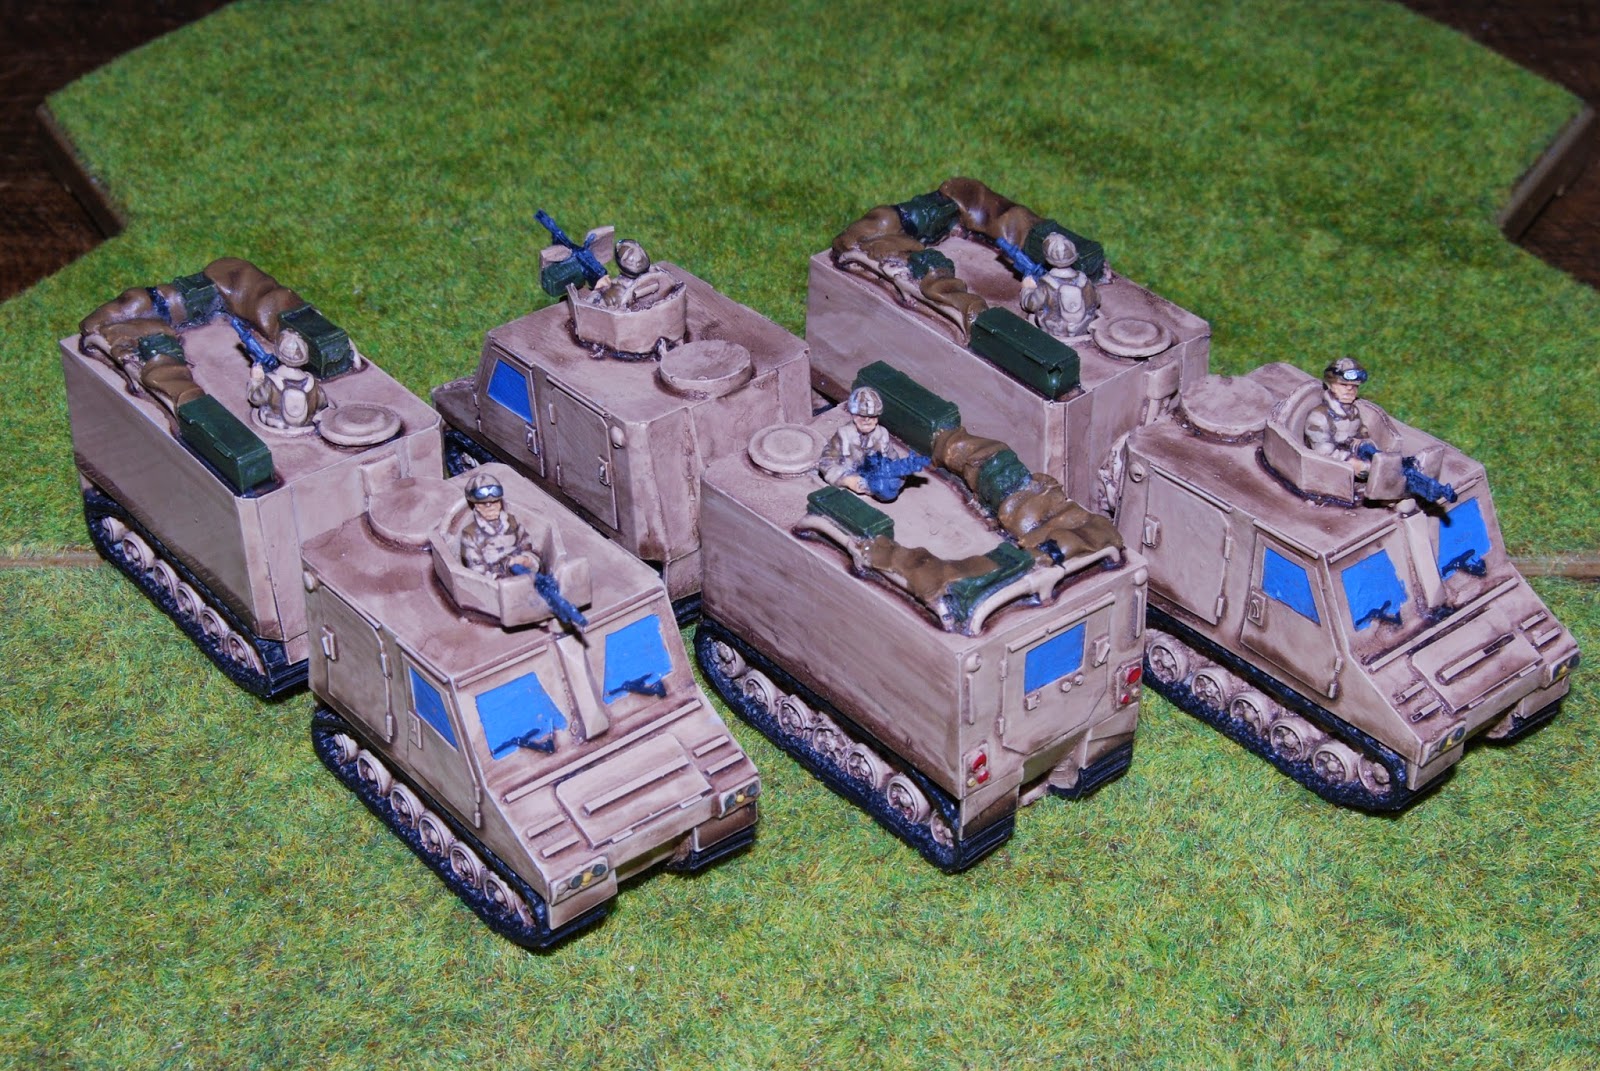
Three Viking apcs.  The castings ranged from near perfect to requiring some modelling clay filling of bubbles.  This wasn't a big problem except where the raised detail hadn't cast, like the raised ribs on the front of the central Viking in the image below. However, once filled and painted, they look really cool and I can't wait to get them on the board in a FonF game.  Any shortcomings in the filling front = battle damage.


Some nice vehicles there from Britannia.  I shall have to get another WMIK and a Viking, plus a Mastiff or two, so I have the vehicles I need for the "Enduring Freedom" scenarios.  These will complement the die cast Altaya Warriors and Challengers that I have sourced off e-bay, along with some air lift via a Lynx, 2 Pumas and a Chinook.  I'm also looking at the Snatch Landrovers from the Hobby Den, but am also tempted to try and scratch build them from a couple of Matchbox Landrover Defenders that I picked up the other day in Sainsbury's- only really needs the roof lifting off and rebuilt with a hole in it for a minimi gunner to fit in the top.

Thanks for looking.